As you might know, there are three main types of testing:
- Unit testing
- UI testing (Widget tests in Flutter)
- Integration testing
For Flutter, we can also add bloc tests because bloc/cubit is the most popular state manager.
So, let’s look at how to build all of these tests.

Writing the application
1. Firstly, we will create an app we will be testing. There is also a different approach to testing: TDD (Test-driven development) technique, where a developer first writes tests, then proceeds with all the functionalities. We choose to write the application first.
We will create a simple app just with one text widget and one button, which uses an open API to send different cat facts to us.
Let’s create a cat_fact_repository.dart file:
import 'dart:convert';
import 'package:http/http.dart';
import '../models/cat_fact.dart';
class CatfactRepository {
    Future<CatFact?> getCatFact() async {
        try {
            Response response = await get(Uri.parse('https://catfact.ninja/fact'));
            if (response.statusCode == 200) {
                CatFact cat = CatFact.fromJson(jsonDecode(response.body));
                return cat;
            } else {
                return null;
            }
        } catch (e) {
            return null;
        }
    }
}
Our class has a single function that sends a GET request (by using an HTTP library) to open an API and transforms the result into a CatFact model if the response status code equals 200; otherwise — it will return null.
class CatFact {
    String? fact;
    int? length;
    CatFact({this.fact, this.length});
    CatFact.fromJson(Map<String, dynamic> json) {
        fact = json['fact'];
        length = json['length'];
    }
    Map<String, dynamic> toJson() {
        final Map<String, dynamic> data = {};
        data['fact'] = fact;
        data['length'] = length;
        return data;
    }
    @override
    String toString() => 'Cat(fact: $fact, length: $length)';
}
2. CatFact is a simple model with two variables.
3. Application will contain just one screen, let’s call it home_screen. We will manage our states via cubit (home_cubit.dart and home_state.dart files).
Home will have 3 states, let’s call them HomeError, HomeLoading, and HomeMainState. All of them extend Equatable. HomeMainState receives a nullable catFact object; it means that this state will be shown as the initial state and when data is loaded.
part of 'home_cubit.dart';
@immutable
abstract class HomeState extends Equatable {}
class HomeMainState extends HomeState {
    final CatFact? catFact;
    HomeMainState({this.catFact});
    @override
    List<Object?> get props => [catFact];
}
class HomeLoading extends HomeState {
    @override
    List<Object?> get props => [];
}
class HomeError extends HomeState {
    @override
    List<Object?> get props => [];
}
4. Our cubit class has a single function that will use catFactRepository to send requests to the endpoint.
import 'package:bloc/bloc.dart';
import 'package:equatable/equatable.dart';
import 'package:flutter_tests/models/cat_fact.dart';
import 'package:flutter_tests/repositories/cat_fact_repository.dart';
import 'package:meta/meta.dart';
part 'home_state.dart';
class HomeCubit extends Cubit<HomeState> {
    CatfactRepository catFactRepository;
    HomeCubit(this.catFactRepository) : super(HomeMainState());
    Future<void> loadCatFact() async {
        emit(HomeLoading());
        CatFact? catFact = await catFactRepository.getCatFact();
        emit(catFact != null ? HomeMainState(catFact: catFact) : HomeError());
    }
}
5. The entry point of our app will look in the following way:
import 'package:flutter/material.dart';
import 'package:flutter_tests/home/home_screen.dart';
import 'package:flutter_tests/repositories/cat_fact_repository.dart';
void main() {
runApp(const MyApp());
}
class MyApp extends StatelessWidget {
const MyApp({Key? key}) : super(key: key);
@override
Widget build(BuildContext context) {
return MaterialApp(
title: 'Flutter Tests',
home: HomeScreen(repository: CatfactRepository()),
);
}
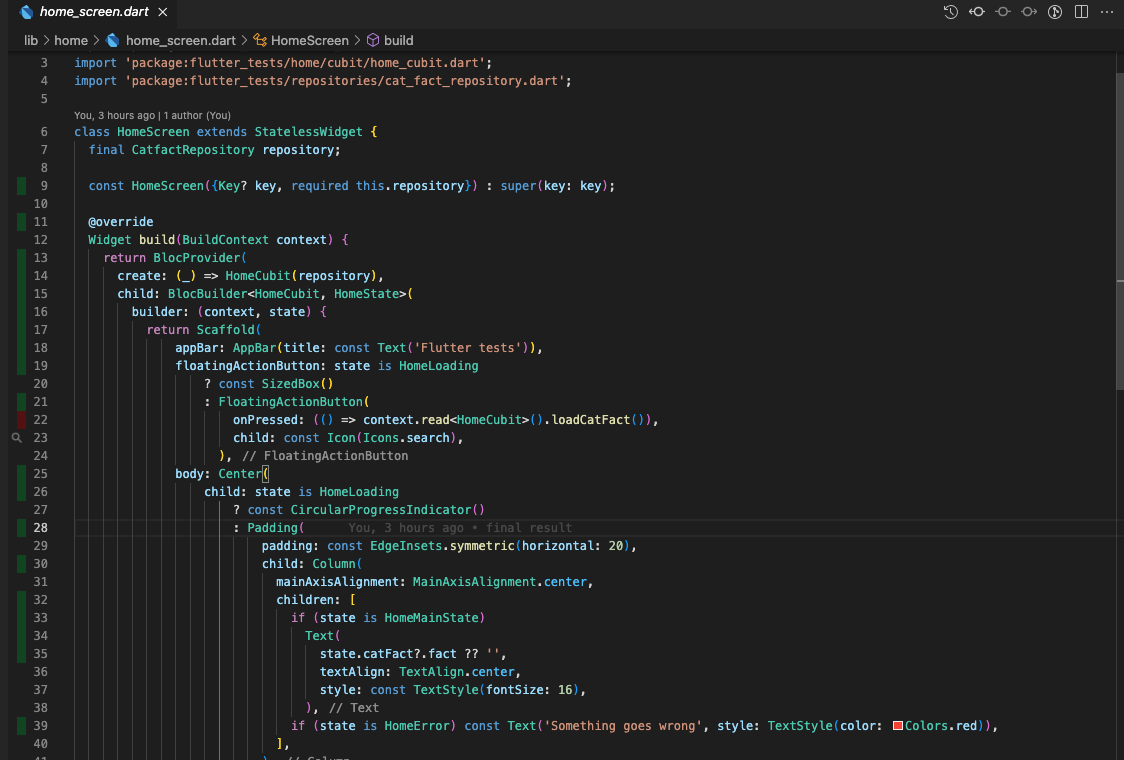
}6. A HomeScreen is a stateless widget that receives a repository and uses HomeCubit. If a state is HomeLoading, we will show CircularProgressIndicator; in all other states, we will show a Text widget with a cat fact if it’s available by our state or an error message if the request is not 200.
import 'package:flutter/material.dart';
import 'package:flutter_bloc/flutter_bloc.dart';
import 'package:flutter_tests/home/cubit/home_cubit.dart';
import 'package:flutter_tests/repositories/cat_fact_repository.dart';
class HomeScreen extends StatelessWidget {
    final CatfactRepository repository;
    const HomeScreen({Key? key, required this.repository}) : super(key: key);
    @override
    Widget build(BuildContext context) {
        return BlocProvider(
                   create: (_) => HomeCubit(repository),
                   child: BlocBuilder<HomeCubit, HomeState>(
        builder: (context, state) {
            return Scaffold(
                       appBar: AppBar(title: const Text('Flutter tests')),
                       floatingActionButton: state is HomeLoading
                       ? const SizedBox()
                       : FloatingActionButton(
                           onPressed: (() => context.read<HomeCubit>().loadCatFact()),
                           child: const Icon(Icons.search),
                       ),
                       body: Center(
                           child: state is HomeLoading
                           ? const CircularProgressIndicator()
                           : Padding(
                               padding: const EdgeInsets.symmetric(horizontal: 20),
                               child: Column(
                                   mainAxisAlignment: MainAxisAlignment.center,
                                   children: [
                                       if (state is HomeMainState)
                                       Text(
                                           state.catFact?.fact ?? '',
                                           textAlign: TextAlign.center,
                                           style: const TextStyle(fontSize: 16),
                                       ),
                                       if (state is HomeError) const Text('Something goes wrong', style: TextStyle(color: Colors.red)),
                                   ],
                               ),
                           )));
        },
                   ),
               );
    }
}
When clicking on the FloatingActionButton, we call the loadCatFact function from our cubit.
Running the tests
Now that we have completed our Flutter application, let’s move on to the main focus of our work — testing the app out. We can start writing tests to cover all the possible behaviors.
Unit testing
1. First of all, we need to connect all the required dependencies (flutter_test and integration_test), bloc_test. Additionally, we will use a mocktail for mocking our repository (this is not required, we can write our own mock repository as well).
dependencies:
flutter:
sdk: flutter
cupertino_icons: ^1.0.2
bloc: ^8.0.3
flutter_bloc: ^8.0.1
http: ^0.13.4
bloc_test: ^9.0.3
equatable: ^2.0.3
dev_dependencies:
flutter_test:
sdk: flutter
flutter_lints: ^1.0.0
mocktail: ^0.3.0
integration_test:
sdk: flutter
2. Let’s create a “test” folder in the project root path and a flutter_test.dart file.

Our tests will start from the main function, like a Dart application. First of all, we can begin with the setup for our tests. For example, let’s create a mock repository that we will use in our tests.
As we have mentioned before, we can make our own mock by creating a new class that implements the CatFactRepository.
class ManuallyMockRepository implements CatfactRepository {
    @override
    Future<CatFact?> getCatFact() async {
        return CatFact(fact: 'test content', length: 1);
    }
}
But the easiest and more codeless option is using a mocktail dependency. To do so, we just need to add extending to the Mock class.
class MockRepository extends Mock implements CatfactRepository {}3. Now we can create all the necessary variables and initialize them in the setUp function.
late MockRepository mockRepository;
late CatfactRepository repository;
final CatFact catFact = CatFact(fact: 'mock test', length: 1);
late HomeCubit cubit;
setUp(() {
    mockRepository = MockRepository();
    repository = CatfactRepository();
    cubit = HomeCubit(mockRepository);
});
4. Tests use mockable objects by default, but we can also test real requests; that’s why we will create a real repository too. So let’s begin with it.
We will use a test function that creates a new test case with the given description (converted to a string) and a body.
The description should be some informative message about the test, for example, “Test HTTP request”.
The body is a simple anonymous function without any input parameters. One of the testing types is an expect function which compares the actual result with the expected one.
Let’s call our repository .getCatFact() and check whether catFact.fact in response is not null, which means that request was successful and we get a fact from the API.
Before that, we need to make HttpOverrides.global null, because by default test() uses a Mocked http class which will always return HTTP error 400. It is likely the reason why your code works in the emulator, but not in tests. Now, we can run our test and see that it is passed.
test(
    "Test Http request",
() async {
    HttpOverrides.global = null;
    CatFact? catFact = await repository.getCatFact();
    expect(catFact?.fact != null, true);
},
);
5. Additionally, we can create a group of tests and run all the tests in this group. Let’s look at how to do this by creating two small unit tests.
For example, we can check if getCatFact function in the mockRepository is called once and whether the fact length is more than 4 symbols.
group('Group testing example', () {
    test(
        "Check is request called once",
    () async {
        arrangeRepositoryReturnFact();
        cubit.loadCatFact();
        verify(() => mockRepository.getCatFact()).called(1);
    },
    );
    test(
        "Check is fact length more than 4 symbols",
    () async {
        arrangeRepositoryReturnFact();
        CatFact? catFact = await mockRepository.getCatFact();
        expect((catFact?.fact?.length ?? 0) > 4, true);
    },
    );
});
6. As you can see, before starting our tests we call the arrangeRepositoryReturnFact function. It is a simple function where we can mock responses to our request.
void arrangeRepositoryReturnFact() {
    when(() => mockRepository.getCatFact()).thenAnswer((invocation) async => catFact);
}
Widget testing
7. To test our widgets, we need to use the testWidgets instead of the test function, which uses a WidgetTester class that programmatically interacts with widgets and the test environment.
For example, we can check if our AppBar contains “Flutter tests” title or check if HomeScreen contains a Widget with IconData search.
testWidgets(
    "App bar widget test",
(widgetTester) async {
    await widgetTester.pumpWidget(createWidgetUnderTest());
    expect(find.text('Flutter tests'), findsOneWidget);
},
);
testWidgets(
    "Search button is displayed",
(WidgetTester tester) async {
    await tester.pumpWidget(createWidgetUnderTest());
    expect(find.byIcon(Icons.search), findsOneWidget);
},
);
8. The pumpWidget method renders the UI from a given widget inside. So we made a function that creates our HomeScreen with a given mockRepository and called it createWidgetUnderTest.
Widget createWidgetUnderTest() {
    return MaterialApp(
               title: 'Flutter Tests',
               home: HomeScreen(repository: mockRepository),
           );
}
cubit/bloc testing
9. Next, let’s check how to test cubit/bloc. We just need to call the blocTest function from the bloc_test library and fill all needed parameters.
In the setUp, we will use our arrangeRepostioryReturnFact function for setting the getCatFact response.
Build should construct and return the bloc under the test, so we put our home_cubit there.
Act is a callback that will be invoked; it is our loadCatFact method from the home_cubit.
Expect is checking of the actual state sequence equal to expecting. As you might remember when calling loadCatFact(), we emit a loading state; after getting the result, we emit the MainState with our CatFact object.
Also, we can verify whether a request is called once.
blocTest<HomeCubit, HomeState>('cubit test',
                               setUp: arrangeRepositoryReturnFact,
                               build: () => cubit,
                               act: (bloc) => cubit.loadCatFact(),
                               expect: () => <HomeState>[
                                   HomeLoading(),
                                   HomeMainState(catFact: catFact),
                               ],
verify: (_) async {
    verify((() => mockRepository.getCatFact())).called(1);
});
Integration testing
10. Finally let’s study how to write the most complex tests — integration tests. First of all, we need to create a new folder “integration_test” with the app_test.dart file inside.

Then we can copy the MockRepository, the setup function, and createWidgetUndeTest from the flutter_test.dart file.
Also, let’s copy our arrangeRepostioryReturnFact and just modify it a little bit.
void arrangeRepositoryRequestFor2Seconds() {
    when(() => mockRepository.getCatFact()).thenAnswer((invocation) async {
        await Future.delayed(const Duration(seconds: 2));
        return catFact;
    });
}
As you see, we have added a 2 seconds delay, so when the integration test will be running, we will see our CircularProgressIndicator.
After all the preparation is done we can start to write our integration test.
testWidgets(
    "tapping on search button",
(WidgetTester tester) async {
    arrangeRepositoryRequestFor2Seconds();
    await tester.pumpWidget(createWidgetUnderTest());
    await tester.tap(find.byIcon(Icons.search));
    await tester.pumpAndSettle();
    expect(find.text('mock test'), findsOneWidget);
},
);
Firstly, let’s call our arrangeRepositoryRequestFor2Seconds function to set up the logic for calling the mockRepository method. Then we initialize the HomeScreen inside the pumpWidget. When everything is initialized we tell our tester to click on the button and update the UI again by calling pumpAndSettle().
After tapping, we can check whether the CatFact with “mock test” text is available. When we run this test it takes some time to install the app on our simulator; we should see that we don’t have to tap any buttons but our app works independently.
Additional information for better testing
To make your testing process smoother and simpler, we would recommend installing two plugins for VSCode: Coverage Gutters and Flutter Coverage. It gives us a possibility to better understand code tests coverage.

Additionally, we can see exactly which rows are covered by tests by clicking on the “Watch” button in the left-down corner:
Final words
That was our short guide to testing Flutter apps. We demonstrated some of the most common Flutter test types that can help you evaluate the apps’ performance.
As a result, we can pinpoint any bugs and mistakes in the development process and not let them spoil the application on a big scale. Testing an application requires careful planning and a good understanding of the process and its goals.
With the available testing techniques in Flutter, a programmer can check the app in an organized and throughout manner. We hope that this tutorial gave you clear instructions on how to perform Flutter app testing step by step.
You can find the complete tests code on our Github.