Bluetooth is the most popular wireless technology present in virtually any tech device. Whether you want to listen to some music through your headphones, check your daily step count from the fitness tracker, or give commands to your printer, you will have to turn on Bluetooth first.
What about remotely controlling a camera, let’s say a GoPro? You can start and stop recording just by pressing buttons in the app on your phone — no need to hustle around and spend more time editing the awkward moments out.
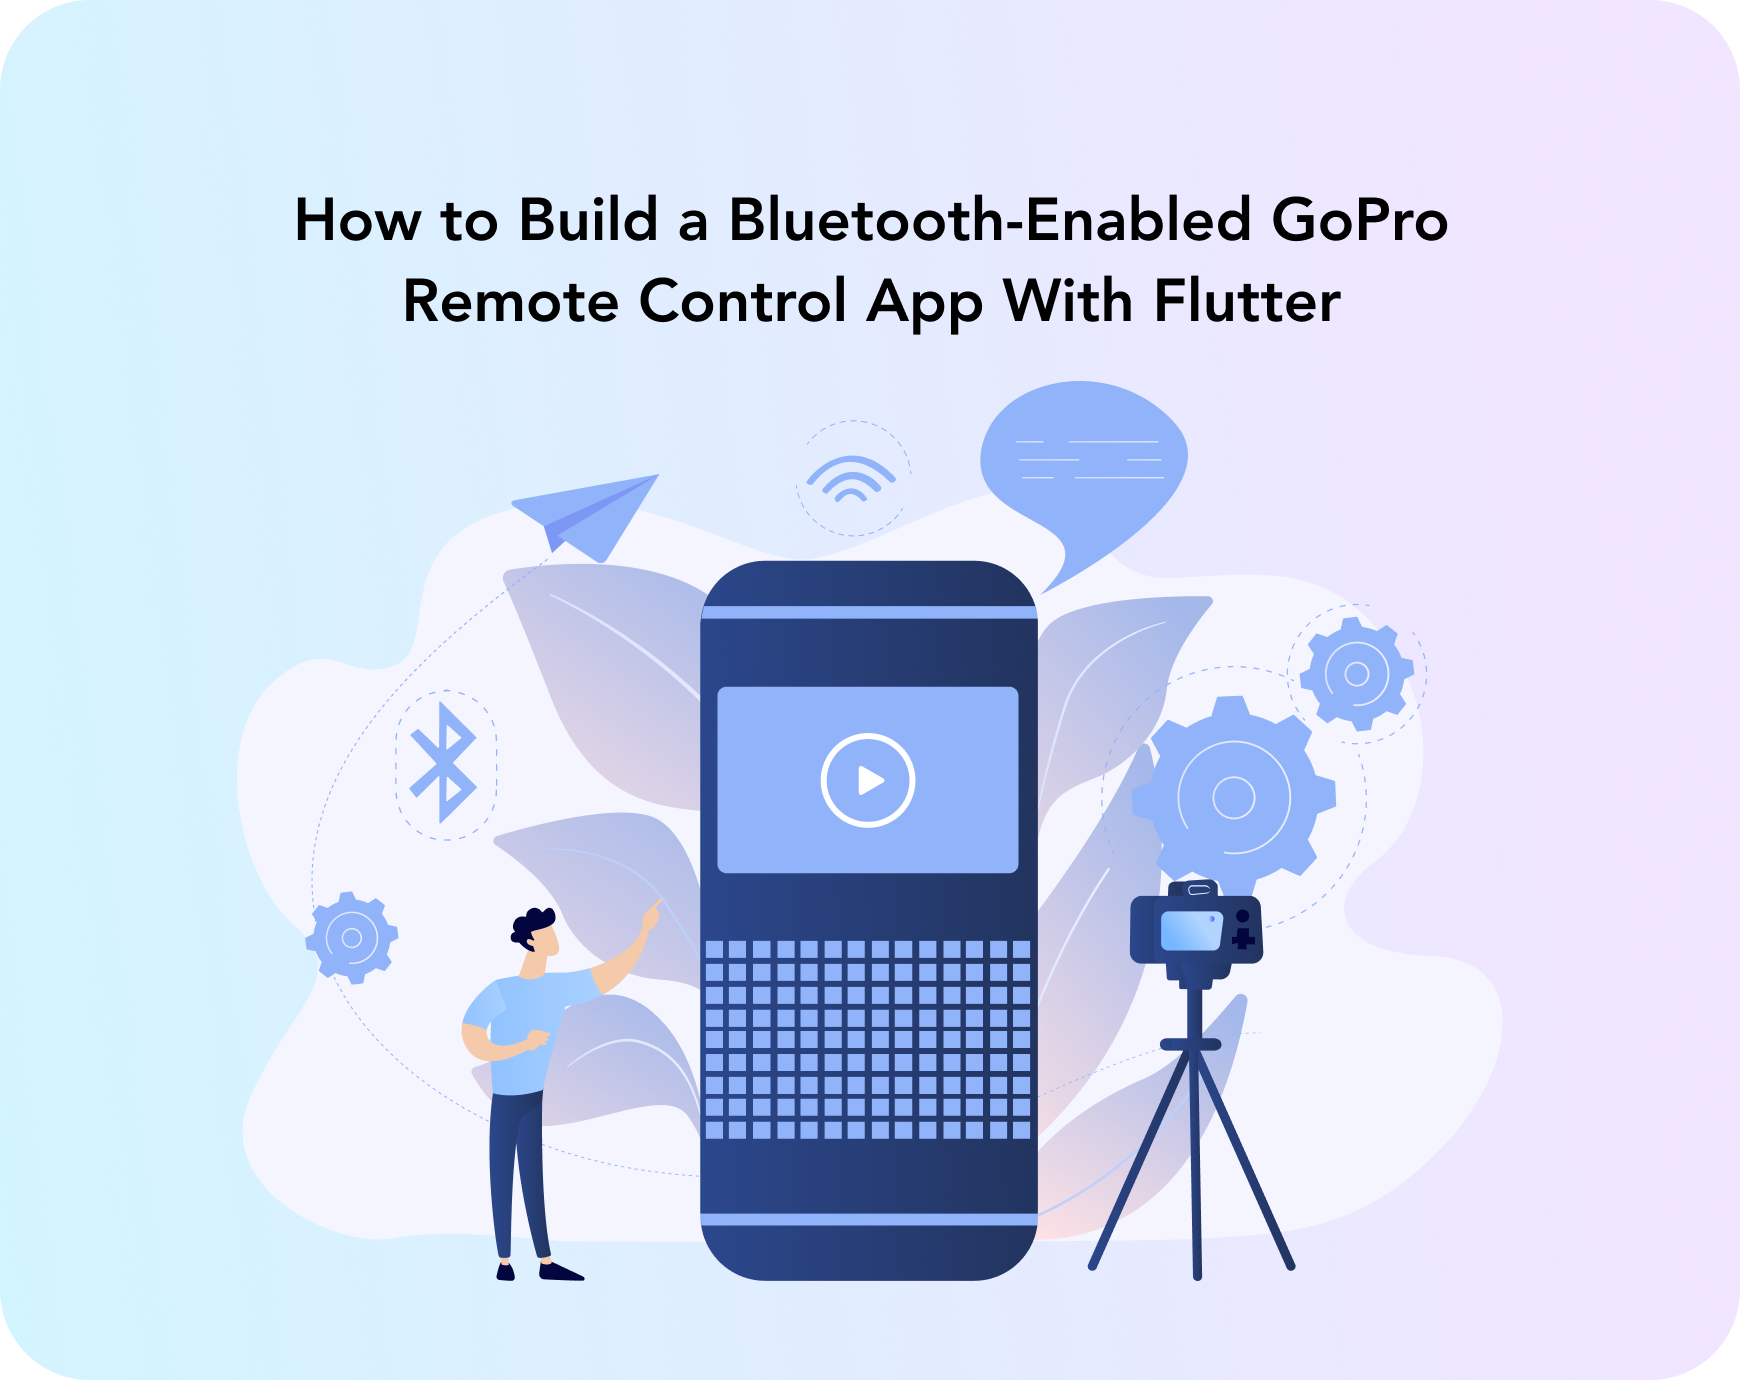
Our Flutter team thought that such an app was indeed a great idea. Additionally, it’s an excellent way to play around with the Bluetooth functionality and demonstrate how it all works in Flutter. To get you excited, here’s the final result of our Bluetooth-enabled GoPro remote control app:


Now, we will show how to integrate Bluetooth functionality in your Flutter app, obtain necessary permissions, and connect a device step by step. Let’s begin!
Setting up the project
1. After we created a new project (detailed instructions in our other tutorial), our task is to add all the dependencies:
  flutter_blue_plus: ^1.1.3
  permission_handler: ^10.0.0
- For connecting Flutter and a Bluetooth device, we will use the flutter_blue_plus library, a new version of flutter_blue.
- We will use Permission_handler to get all the needed Bluetooth permissions in our app.
2. Then, let’s navigate to the Getting started section in the library documentation and set all the required fields.
For Android, let’s open the android/app/build.gradle file and change the minSdkVersion to 19; targetSdkVersion and compileSdkVersion to 33.
  minSdkVersion 19
  targetSdkVersion 33
Next, let’s add the permission to use Bluetooth and access the location:
   <!-- Permissions options for the `bluetooth` group -->
    <uses-permission android:name="android.permission.BLUETOOTH" />
    <uses-permission android:name="android.permission.BLUETOOTH_SCAN" />
    <uses-permission android:name="android.permission.BLUETOOTH_ADVERTISE" />
    <uses-permission android:name="android.permission.BLUETOOTH_CONNECT" />
For iOS, let’s move to the ios/Runner/Info.plist and add the following parameters:
 	    <key>NSBluetoothAlwaysUsageDescription</key>
	    <string>Need BLE permission</string>
	    <key>NSBluetoothPeripheralUsageDescription</key>
	    <string>Need BLE permission</string>
	    <key>NSLocationAlwaysAndWhenInUseUsageDescription</key>
	    <string>Need Location permission</string>
	    <key>NSLocationAlwaysUsageDescription</key>
	    <string>Need Location permission</string>
	    <key>NSLocationWhenInUseUsageDescription</key>
	    <string>Need Location permission</string>
That’s all for starting the initialization! Now, let’s get to the real deal and begin coding.
Integrating Bluetooth functionality in a Flutter app
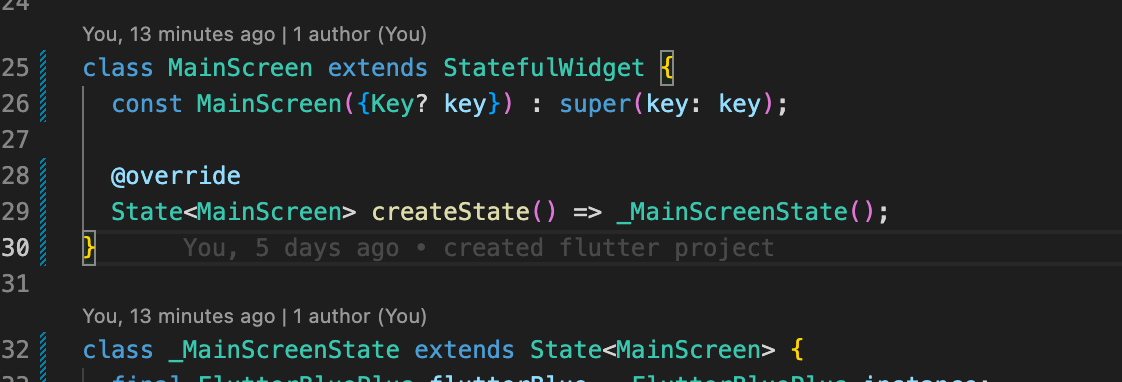
1. First of all, we need to create the main screen, which will be a stateful widget:
2. Now, let’s make a variable for the Bluetooth plugin (flutterBlue) and a list of Bluetooth device objects, where we will write all the available Bluetooth devices.
 final FlutterBluePlus flutterBlue = FlutterBluePlus.instance;
 final List<BluetoothDevice> _devicesList = [];
3. After that, we need to initialize our _devicesList, so we created an initBleList async method and called it in our initState of the MainScreen widget.

4. Moving on to the following tasks. First of all, we need to get all the required permissions. Then, let’s subscribe to two streams for getting all the available Bluetooth devices: connectedDevices and scanResults. After subscribing, we can start scanning by running a similar function.
  Future initBleList() async {
    await Permission.bluetooth.request();
    await Permission.bluetoothConnect.request();
    await Permission.bluetoothScan.request();
    await Permission.bluetoothAdvertise.request();
    flutterBlue.connectedDevices.asStream().listen((devices) {
      for (var device in devices) {
        _addDeviceTolist(device);
      }
    });
    flutterBlue.scanResults.listen((scanResults) {
      for (var result in scanResults) {
        _addDeviceTolist(result.device);
      }
    });
    flutterBlue.startScan();
  }
5. Not to write the same thing in two streams, we created the _addDeviceToList method, which receives a BluetoothDevice object and adds it to our _deviceList.
  void _addDeviceTolist(BluetoothDevice device) {
    if (!_devicesList.contains(device)) {
      setState(() {
        _devicesList.add(device);
      });
    }
  }
6. Now, when we have all the available devices, let’s show them on our screen. To do so, we can create one more method to return the ListView with all the device containers.
  ListView _buildListViewOfDevices() {
    List<Widget> containers = [];
    for (BluetoothDevice device in _devicesList.where((element) => element.name.isNotEmpty)) {
      containers.add(
        SizedBox(
          height: 60,
          child: Row(
            children: <Widget>[
              Expanded(child: Column(children: <Widget>[Text(device.name), Text(device.id.toString())])),
              ElevatedButton(
                child: const Text('Connect', style: TextStyle(color: Colors.white)),
                onPressed: () async {},
              ),
            ],
          ),
        ),
      );
    }
    return ListView(padding: const EdgeInsets.all(8), children: <Widget>[...containers]);
  }
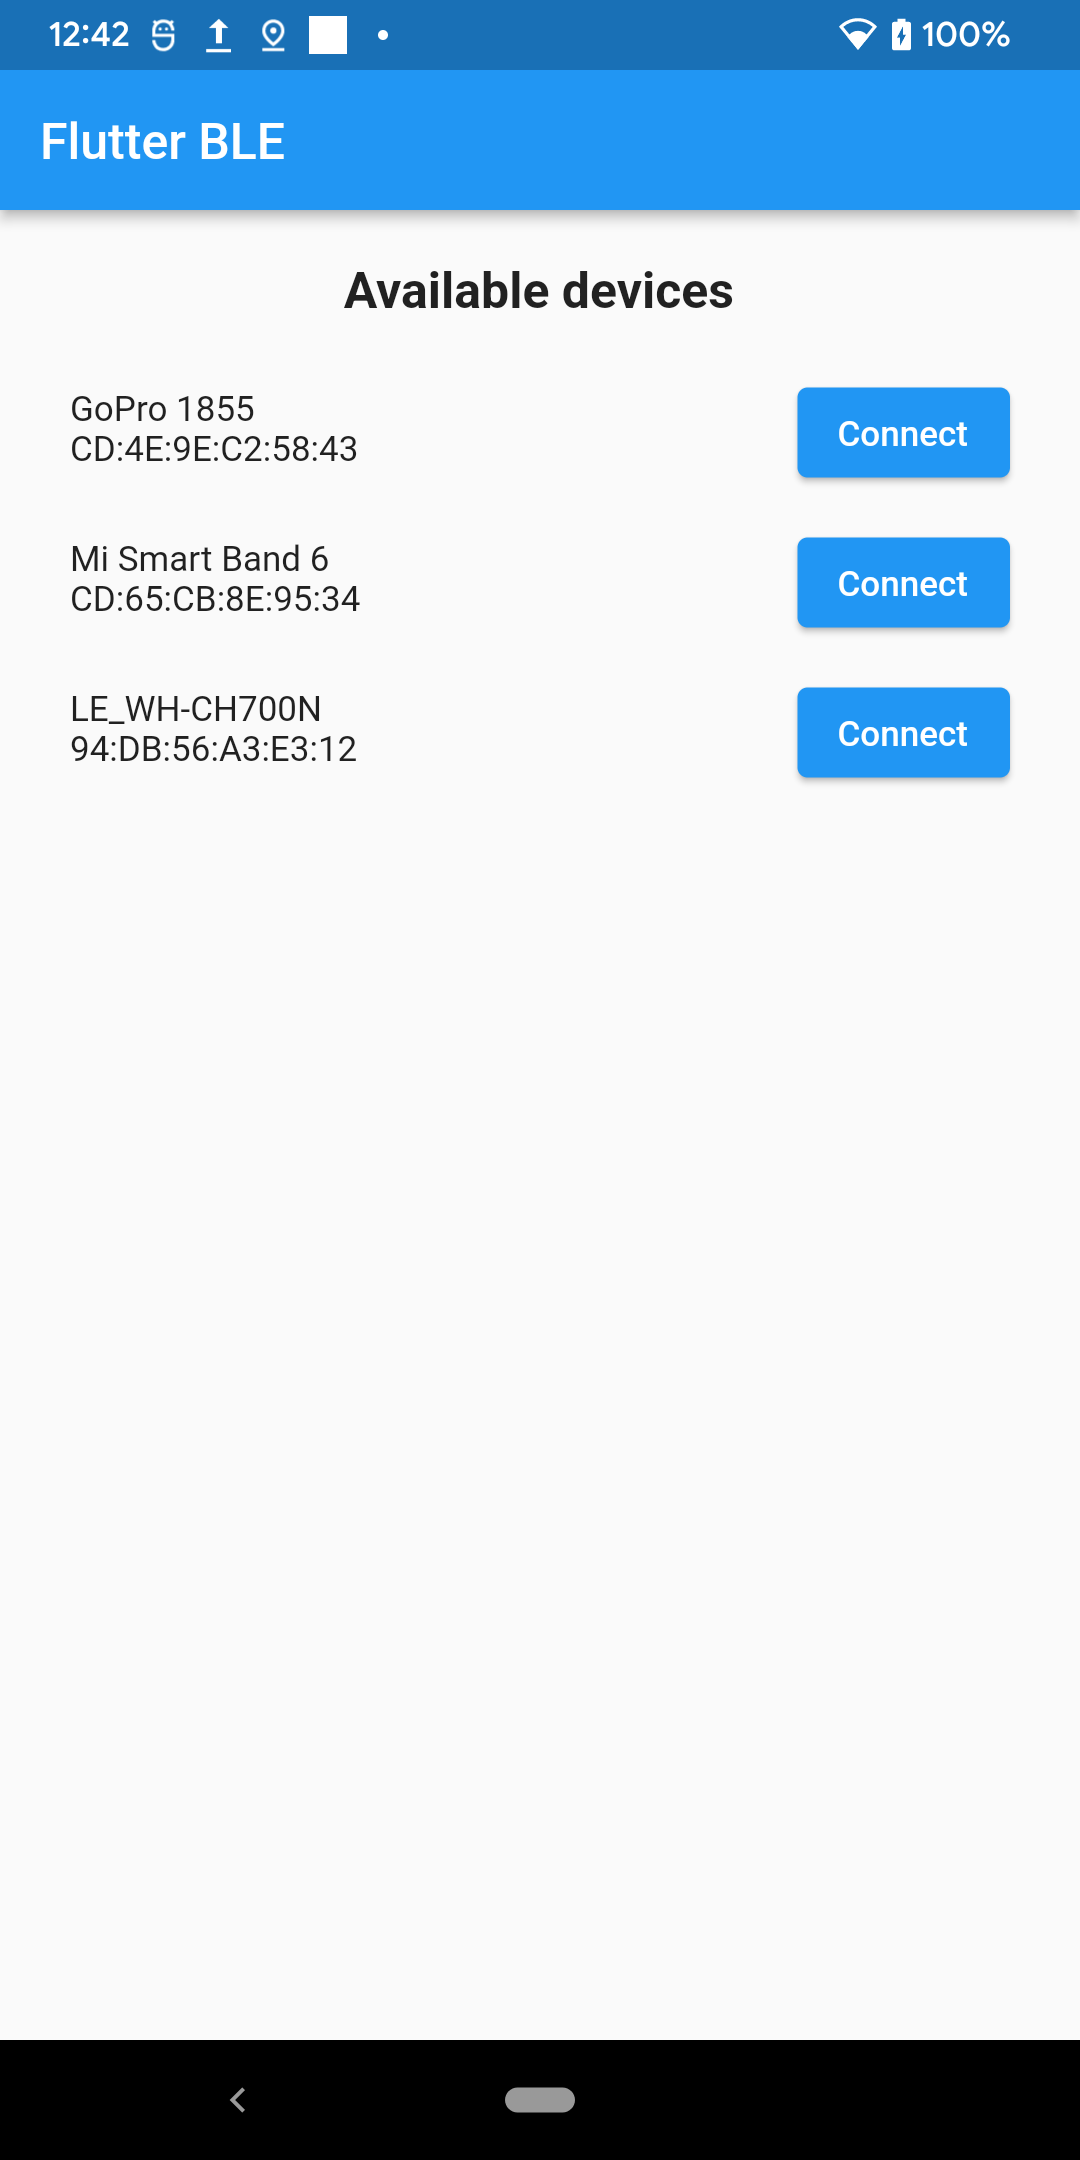
7. In this tutorial, we are working on connecting to GoPro, so we need to check if the device is a GoPro camera. If the answer is “yes,” let’s connect to it and create some control buttons for this device.
    onPressed: () async {
                  if (device.name.contains('GoPro')) {
                    try {
                      await device.connect();
                      controlButtons.addAll([
                        ControlButton(buttonName: 'Record On', onTap: () => writeValue([0x03, 0x01, 0x01, 0x01])),
                        ControlButton(buttonName: 'Record Off', onTap: () => writeValue([0x03, 0x01, 0x01, 0x00])),
                        ControlButton(buttonName: 'Camera sleep', onTap: () => writeValue([0x01, 0x05])),
                        ControlButton(buttonName: 'Show camera WiFi AP SSID', onTap: () => readValue('0002')),
                        ControlButton(buttonName: 'Show camera WiFi AP Password	', onTap: () => readValue('0003')),
                      ]);
                      List<BluetoothService> services = await device.discoverServices();
                      setState(() {
                        bluetoothServices = services;
                      });
                    } catch (e) {
                      await device.disconnect();
                    }
                  }
                },
8. We made a simple ControlButton class that receives the buttonName and the onTap function. We will show these buttons when connected to a device.
class ControlButton {
  final String buttonName;
  final Function() onTap;

  ControlButton({required this.buttonName, required this.onTap});
}
9. If the connection is successful, we can get all the services by this device, so let’s create a new nullable list with all the Bluetooth services and set them in this list.
  List<BluetoothService>? bluetoothServices;
  List<ControlButton> controlButtons = [];
10. As a result, now we can check on the main screen if Bluetooth services are null. If the value is true, we are not connected to the device, so we will show the ListView with devices. If the value is false, we will show our control buttons.
  @override
  Widget build(BuildContext context) {
    return Scaffold(appBar: AppBar(title: const Text('Flutter BLE')), body: bluetoothServices == null ? _buildListViewOfDevices() : _buildControlButtons());
  }
11. We made five control buttons:
- Start recording
- Stop recording
- Turn off camera
- Fetch the camera's WiFi name
- Fetch the camera’s password
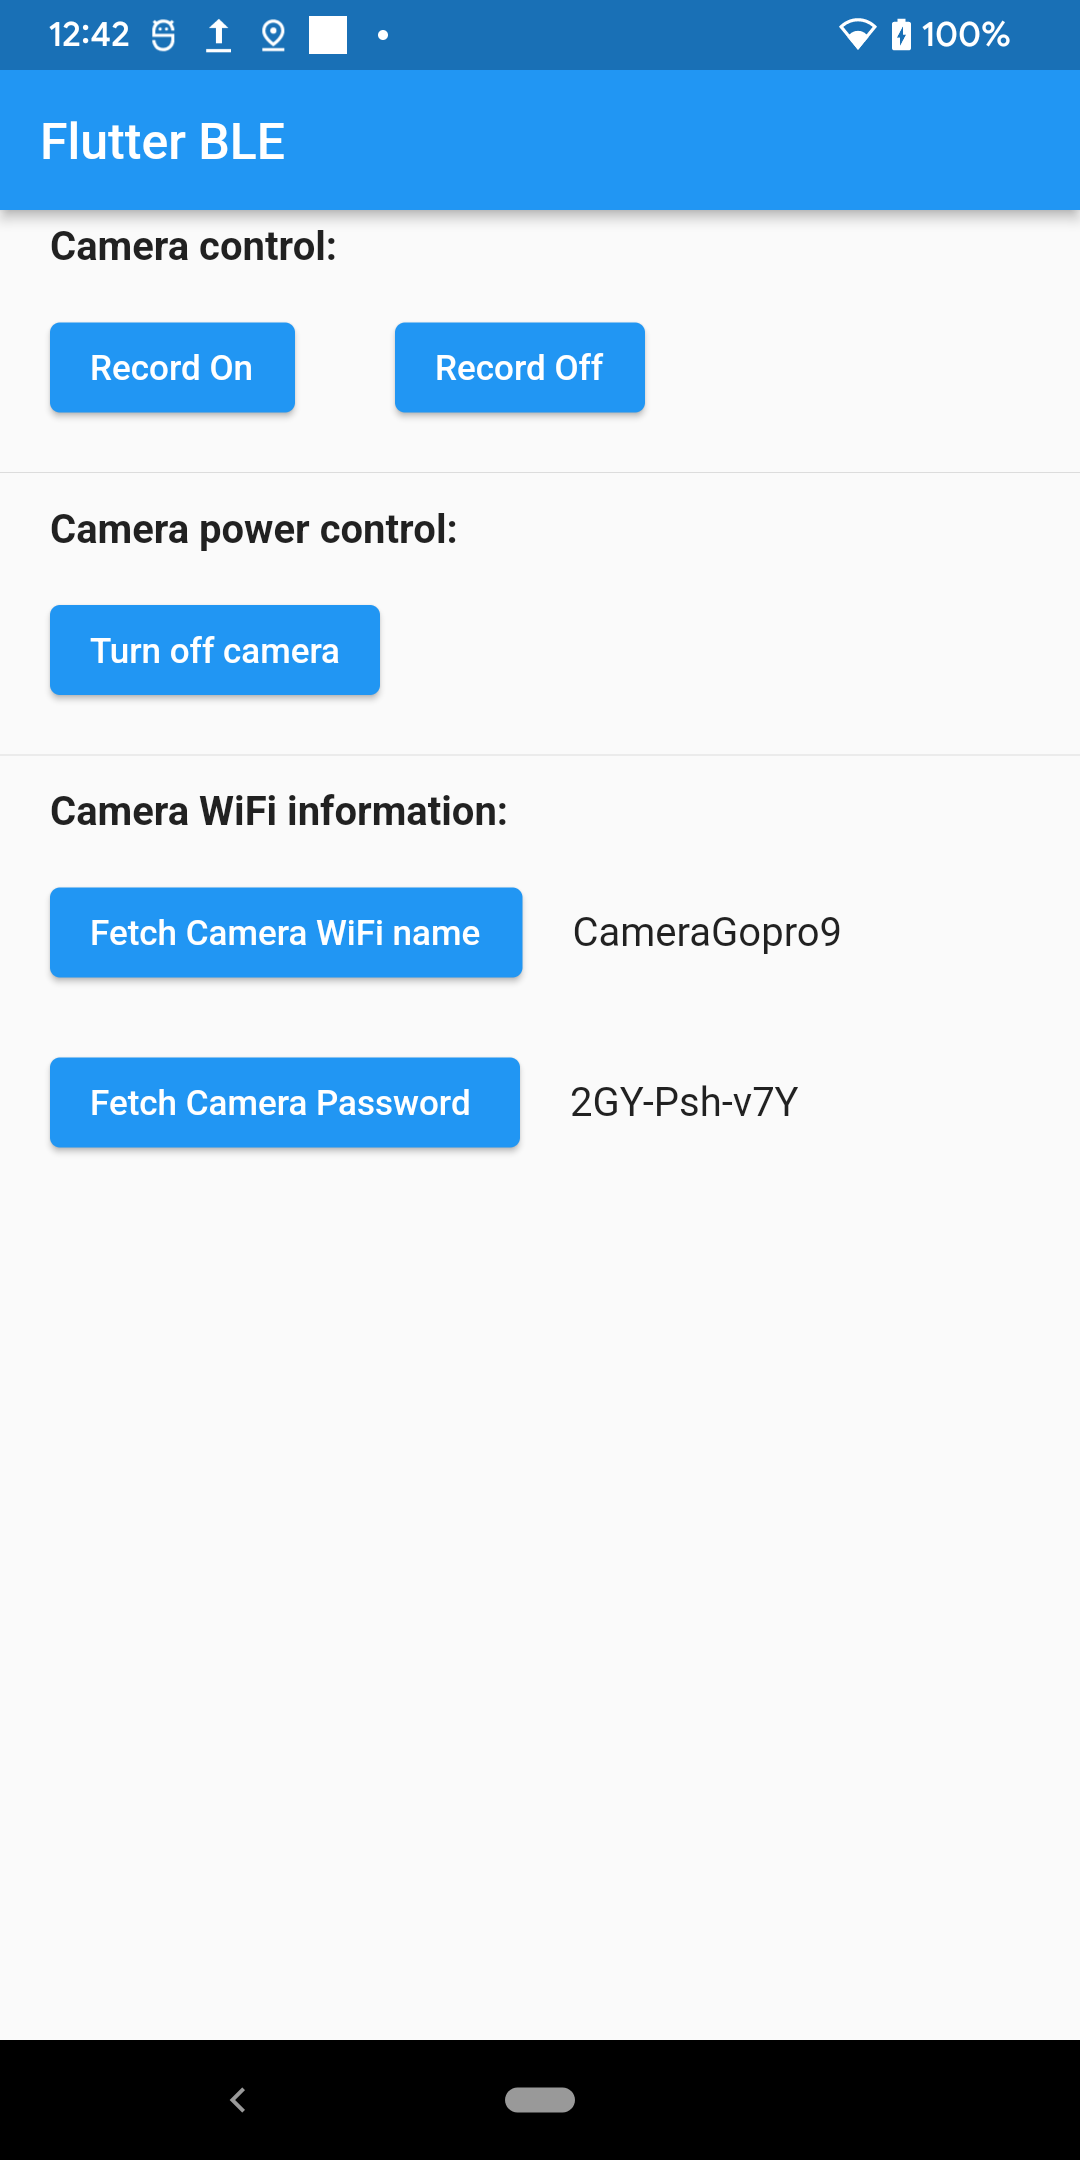
The first three buttons should send data to the Bluetooth device. The other two just get values from the device, so let’s create two methods for them: writeValue and readValue.
  Future<void> writeValue(List<int> value) async {
    BluetoothService? bluetoothService = bluetoothServices?.firstWhere((element) => element.uuid.toString() == '0000fea6-0000-1000-8000-00805f9b34fb');
    BluetoothCharacteristic? bluetoothCharacteristic =
        bluetoothService?.characteristics.firstWhere((element) => element.uuid.toString() == 'b5f90072-aa8d-11e3-9046-0002a5d5c51b');
    bluetoothCharacteristic?.write(value);
  }

  Future<void> readValue(String characteristicUUID) async {
    BluetoothService? bluetoothService = bluetoothServices?.firstWhere((element) => element.uuid.toString() == 'b5f90001-aa8d-11e3-9046-0002a5d5c51b');

    BluetoothCharacteristic? bluetoothCharacteristic =
        bluetoothService?.characteristics.firstWhere((element) => element.uuid.toString() == 'b5f9$characteristicUUID-aa8d-11e3-9046-0002a5d5c51b');
    List<int>? utf8Response = await bluetoothCharacteristic?.read();
    setState(() {
      readableValue = utf8.decode(utf8Response ?? []);
    });
  }
12. As we can read in the official GoPro documentation, we should use the “GP-0072” characteristic in the “fea6” service for writing value; for reading, we need the “GP-0001” service. Here you can find which data we should send.
Bluetooth services use utf-8 format, so, for showing data, we should decode it to a string value and display this value in the Text widget with other control button widgets.
String? readableValue; Widget _buildControlButtons() {
return Column(
children: [
Wrap(
children: controlButtons
.map((e) => Container(
padding: const EdgeInsets.symmetric(horizontal: 20, vertical: 10),
child: ElevatedButton(onPressed: e.onTap, child: Text(e.buttonName)),
))
.toList(),
),
Center(child: Text(readableValue ?? '')),
],
);
}
Wrapping up
This Flutter application allows a user to remotely control the GoPro camera via Bluetooth. In just 14 steps, we fully integrated Bluetooth connectivity. We managed to set up:
- Obtaining the necessary Bluetooth permissions
- Enabling and disabling Bluetooth
- Viewing the list of nearby devices
- Checking if the nearby device fits our parameters
- Connecting to a camera
- Giving commands to a camera
- Retrieving the necessary data from a camera
After running our app, that’s the result we get:
All in all, we got a simple and functional Bluetooth-based application for remotely controlling a GoPro camera. We hope this tutorial helped you figure out how Bluetooth connectivity works in Flutter and inspires you to add this feature to an application of your own.
You can find the full project on our Github.