Welcome back to our Android wellness app tutorial! Previously, we discussed the Ktor framework and showed you how to create a backend for our application. Today, let’s focus on the Android side and finalize our project.
One of the main points of this tutorial is to demonstrate the capabilities of the Ktor framework, which is only gaining popularity among Android developers now. We have already proved that it fits perfectly for building a backend of an Android or iOS app and even a Web project. Now, time to look into how to create the Android side with the Ktor framework for the network later. Spoiler alert: it’s intuitive and effective.
Let’s not beat around the bush and start right away.
How to build an Android application with the Ktor framework
1. We will skip the project initialization and other standard processes as we described those in great detail in our other Android tutorials, for example, this one.
Instead, we have something more fascinating to show — the Ktor Client dependencies that we are adding to Gradle.
 // Koin DI
    implementation "io.insert-koin:koin-android:$koin_version"
    // Ktor
    implementation "io.ktor:ktor-client-core:$ktor_version"
    // Ktor network
    implementation "io.ktor:ktor-client-cio:$ktor_version"
    implementation "io.ktor:ktor-client-android:$ktor_version"
    implementation "io.ktor:ktor-client-websockets:$ktor_version"
    implementation "io.ktor:ktor-client-logging:$ktor_version"
    // Ktor serialization
    implementation "io.ktor:ktor-client-content-negotiation:$ktor_version"
    implementation "io.ktor:ktor-client-serialization:$ktor_version"
    implementation "io.ktor:ktor-serialization-kotlinx-json:$ktor_version"
    implementation"org.jetbrains.kotlinx:kotlinx-serialization-json:1.3.3"
2. It’s important to point out that Ktor can be used on both sides of our app. Of course, the client side will be a bit different, but the ecosystem and development principles remain similar. For example, we can simply copy the data class from the backend project and use it without any trouble.
@Serializable
data class PostModel(
    var id: Long? = null,
    val user: UserPostModel,
    val title: String,
    val text: String,
    val visible: Boolean,
    val tag: String?,
    val backColor: String,
    val likes: Long,
    val userStatus: PostMemberModel,
    val createdTime: String?,
    val sign: Int,
    val signColor: String?
)
You can see the PostModel from our backend project above.
@Serializable
@Parcelize
data class PostModel(
    var id: Long? = null,
    val user: UserPostModel?,
    var title: String,
    val text: String,
    val visible: Boolean,
    val tag: String?,
    val backColor: String,
    var likes: Long,
    var userStatus: PostMemberModel,
    val createdTime: String?,
    val sign: Int,
    val signColor: String?
) : Parcelable
And here’s the PostModel from our Android project. As you can notice, they are pretty much identical. It gives us the possibility to copy and use those throughout our projects.
Just like with our Ktor backend, for the Android side, we are using Koin for Dependency Injection. Both sides have a very similar code style and the same areas for using the Post, User, and Chat repositories. The only difference is that in the backend, we are contacting the database, while on Android, it is the network through the requests used for communicating with the backend via REST architecture.
val viewModelsModule = module {
    viewModel { AuthViewModel(get(), get()) }
    viewModel { PostViewModel(get(), get()) }
    viewModel { ChatViewModel(get(), get()) }
    viewModel { ProfileViewModel(get(), get()) }
}

val networkModule = module {
    single { RestApiBuilder(get()) }
    single { WebSocketBuilder(get()) }
}

val accountModule = module {
    single { DataStoreManager(get()) }
    single { AccountModule(get()) }
    single<AuthRepository> { AuthRepositoryImpl(get()) }
    single<UserRepository> { UserRepositoryImpl(get()) }
    single<PostRepository> { PostRepositoryImpl(get()) }
    single<ChatRepository> { ChatRepositoryImpl(get()) }
}
3. For Android, Retrofit is commonly used for REST API. For this project, we will use Ktor Client. For example, that’s how the RestApi initialization class will look like:
class RestApiBuilder(
    private val am: AccountModule
) : ApiBuilder() {

    private val BASE_URL =
        "http://perpetioktorchat-env.eba-kpjjv4zz.eu-central-1.elasticbeanstalk.com"
    private val token get() = authToken(am.getToken())

    val api: HttpClient = HttpClient(Android) {
        install(Logging) {
            level = LogLevel.ALL
        }
        expectSuccess = true
        install(ContentNegotiation) {
            json()
        }
        HttpResponseValidator {
            handleResponseExceptionWithRequest { exception, _ ->
                throw FormattedNetworkClientException(exception.localizedMessage ?: "Unknown Error")
            }
        }
        defaultRequest {
            url(BASE_URL)
            if (token.isNotEmpty()) {
                header(AUTHORIZATION, token)
            }
        }
    }
}
4. Just like on the backend side of our app, we have some plugins to initialize. It is our decision whether to connect the plugins to the application or not. In this case, we connected Logging and ContentNegotiation plugins.
Setting up HttpClients is intuitive and shouldn’t cause any issues. We add our server’s base URL in the defaultRequest block in the url() method. If the user is already logged in, we can add an authorization header with a token to the request.
In the HttpResponseValidator, we intercept any responses with the status code over 400 and format the error for the user’s convenience.
In the defaultRequest block, we can add, for example, a type of data we want to send in the POST/PUT/PATCH requests. If we had the JSON format, we could have put the contentType(ContentType.Application.Json). Our case is a bit different. We have to send the pictures in MultiPartFormDataContent as well. The best approach we came up with is to indicate the contentType in the very request.
override suspend fun editUser(userUpdatingModel: UserUpdatingModel): Result<Boolean> {
        return try {
            Result.Success(client.api.put(UserRepository.Endpoints.USER.url) {
                contentType(ContentType.Application.Json)
                setBody(userUpdatingModel)
            }.body())
        } catch (exception: FormattedNetworkClientException) {
            Result.Error(exception.formattedErrorMessage)
        } catch (exception: Exception) {
            Result.Error("Server or network error")
        }
    }
5. Now, let’s move on to the repository level using the example of PostRepository. If compared with the backend project, we have the same nine methods. The only difference is that now these methods are implementing the work of network REST API instead of the database, and the responses’ results are passed to the ViewModel level (as we are realizing MVVM) but not to the Controller. To make it all look better, we added the endpoints which are called when using this repository.
interface PostRepository {

    suspend fun createPost(postModel: CreateEditPostModel): Result<CreateEditPostModel>

    suspend fun editPost(postModel: CreateEditPostModel): Result<Boolean>

    suspend fun deletePost(id: Long): Result<Boolean>

    suspend fun getMyPosts(): Result<PostResponseModel>

    suspend fun getFeedPosts(): Result<PostResponseModel>

    suspend fun getPopularPosts(): Result<PostResponseModel>

    suspend fun getFavoritesPosts(): Result<PostResponseModel>

    suspend fun onLikePost(postId: Long): Result<Boolean>

    suspend fun onDislikePost(postId: Long): Result<Boolean>

    sealed class Endpoints(val url: String) {
        object POST : Endpoints("/post")
        object GET_MY_POSTS : Endpoints("/my_posts")
        object GET_FEED_POSTS : Endpoints("/feed_posts")
        object GET_POPULAR_POSTS : Endpoints("/popular_posts")
        object GET_FAVORITES_POSTS : Endpoints("/my_favourite_posts")
        object LIKE_DISLIKE : Endpoints("post/{postId}/like")
    }

}
6. For better convenience, we wrap the response in the Results to track whether the request was successful on the ViewModel level and process it.
sealed class Result<T>(val data: T? = null, val message: String? = null) {
    class Success<T>(data: T?): Result<T>(data)
    class Error<T>(message: String): Result<T>(message = message)
}
Here’s what the request chain for creating a post will look like on the ViewModel level:
fun createPost(postModel: CreateEditPostModel) {
        viewModelScope.launch {
            when (val createPost = postRepository.createPost(postModel)) {
                is Result.Success -> {
                    _postActionEvent.emit(Unit)
                }
                is Result.Error -> {
                    _errorEvent.emit(createPost.message.toString())
                }
            }
        }
    }
And the Repository level:
override suspend fun createPost(postModel: CreateEditPostModel): Result<CreateEditPostModel> {
        return try {
            Result.Success(client.api.post(PostRepository.Endpoints.POST.url) {
                contentType(ContentType.Application.Json)
                setBody(postModel)
            }.body())
        } catch (exception: FormattedNetworkClientException) {
            Result.Error(exception.formattedErrorMessage)
        } catch (exception: Exception) {
            Result.Error("Server or network error")
        }
    }
7. Setting up and using Ktor Client is pretty straightforward and intuitive. It features a wide range of settings that can be added as plugins.
Surely enough, most Android developers are used to Retrofit; still, Kotlin Multiplatform, which is rising in popularity, is becoming a highly powerful and potent instrument. If you are used to Retrofit and want your Ktor Client setup to be similar, some open-source libraries are available, for example, Ktorfit.
8. Because WebSockets are not supported on the Android engine, to work with those, we just selected a different CIO engine instead of Android (you can review all the engine and their properties here) and additionally installed the WebSockets plugin.
val socket: HttpClient = HttpClient(CIO) {
        install(Logging) {
            level = LogLevel.ALL
        }
        install(ContentNegotiation) {
            json()
        }
        defaultRequest {
            url(BASE_URL)
            if (token.isNotEmpty()) {
                header(AUTHORIZATION, token)
            }
            contentType(ContentType.Application.Json)
        }
        install(WebSockets)
    }
9. To establish a connection with the server through Websockets and be subscribed to notifications, we simply need to initialize the WebSocketSession and then use it for sending/receiving messages or closing the session.
private var socket: WebSocketSession? = null

    override suspend fun initSession(room: Long): Result<Boolean> {
        return try {
            socket = client.socket.webSocketSession {
                url(ChatRepository.Endpoints.CHAT_SOCKET.url + "/$room")
            }
            Result.Success(socket?.isActive == true)
        } catch (exception: FormattedNetworkClientException) {
            Result.Error(message = exception.formattedErrorMessage)
        } catch (exception: Exception) {
            Result.Error("Server or network error")
        }
    }
Some final words about our Android wellness app
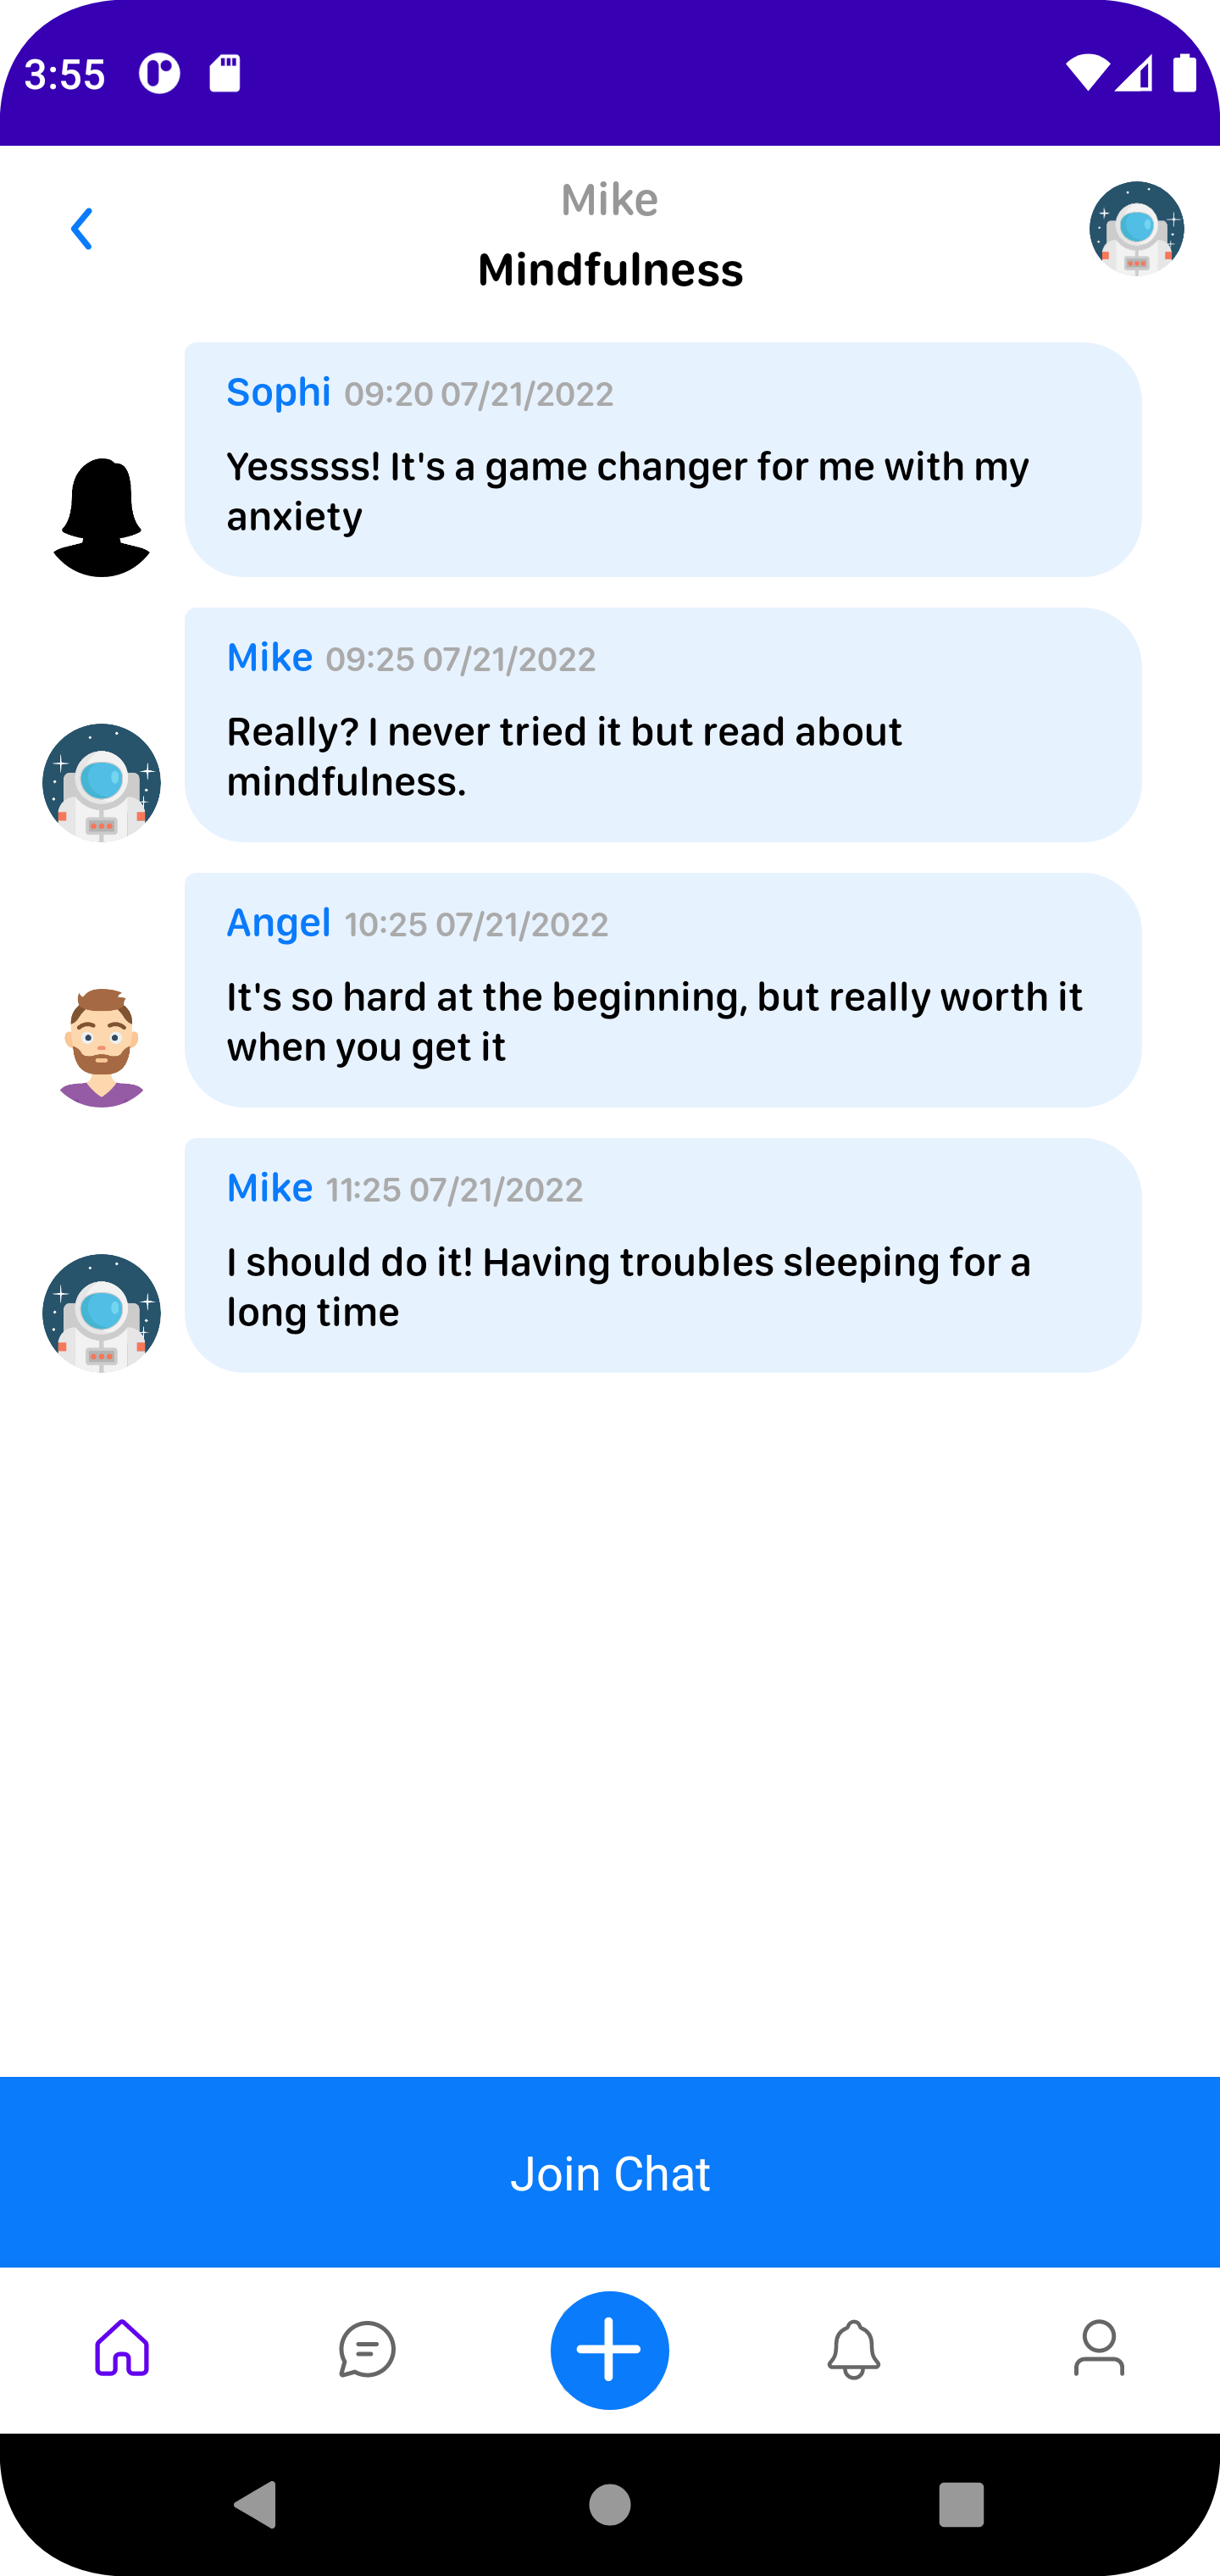
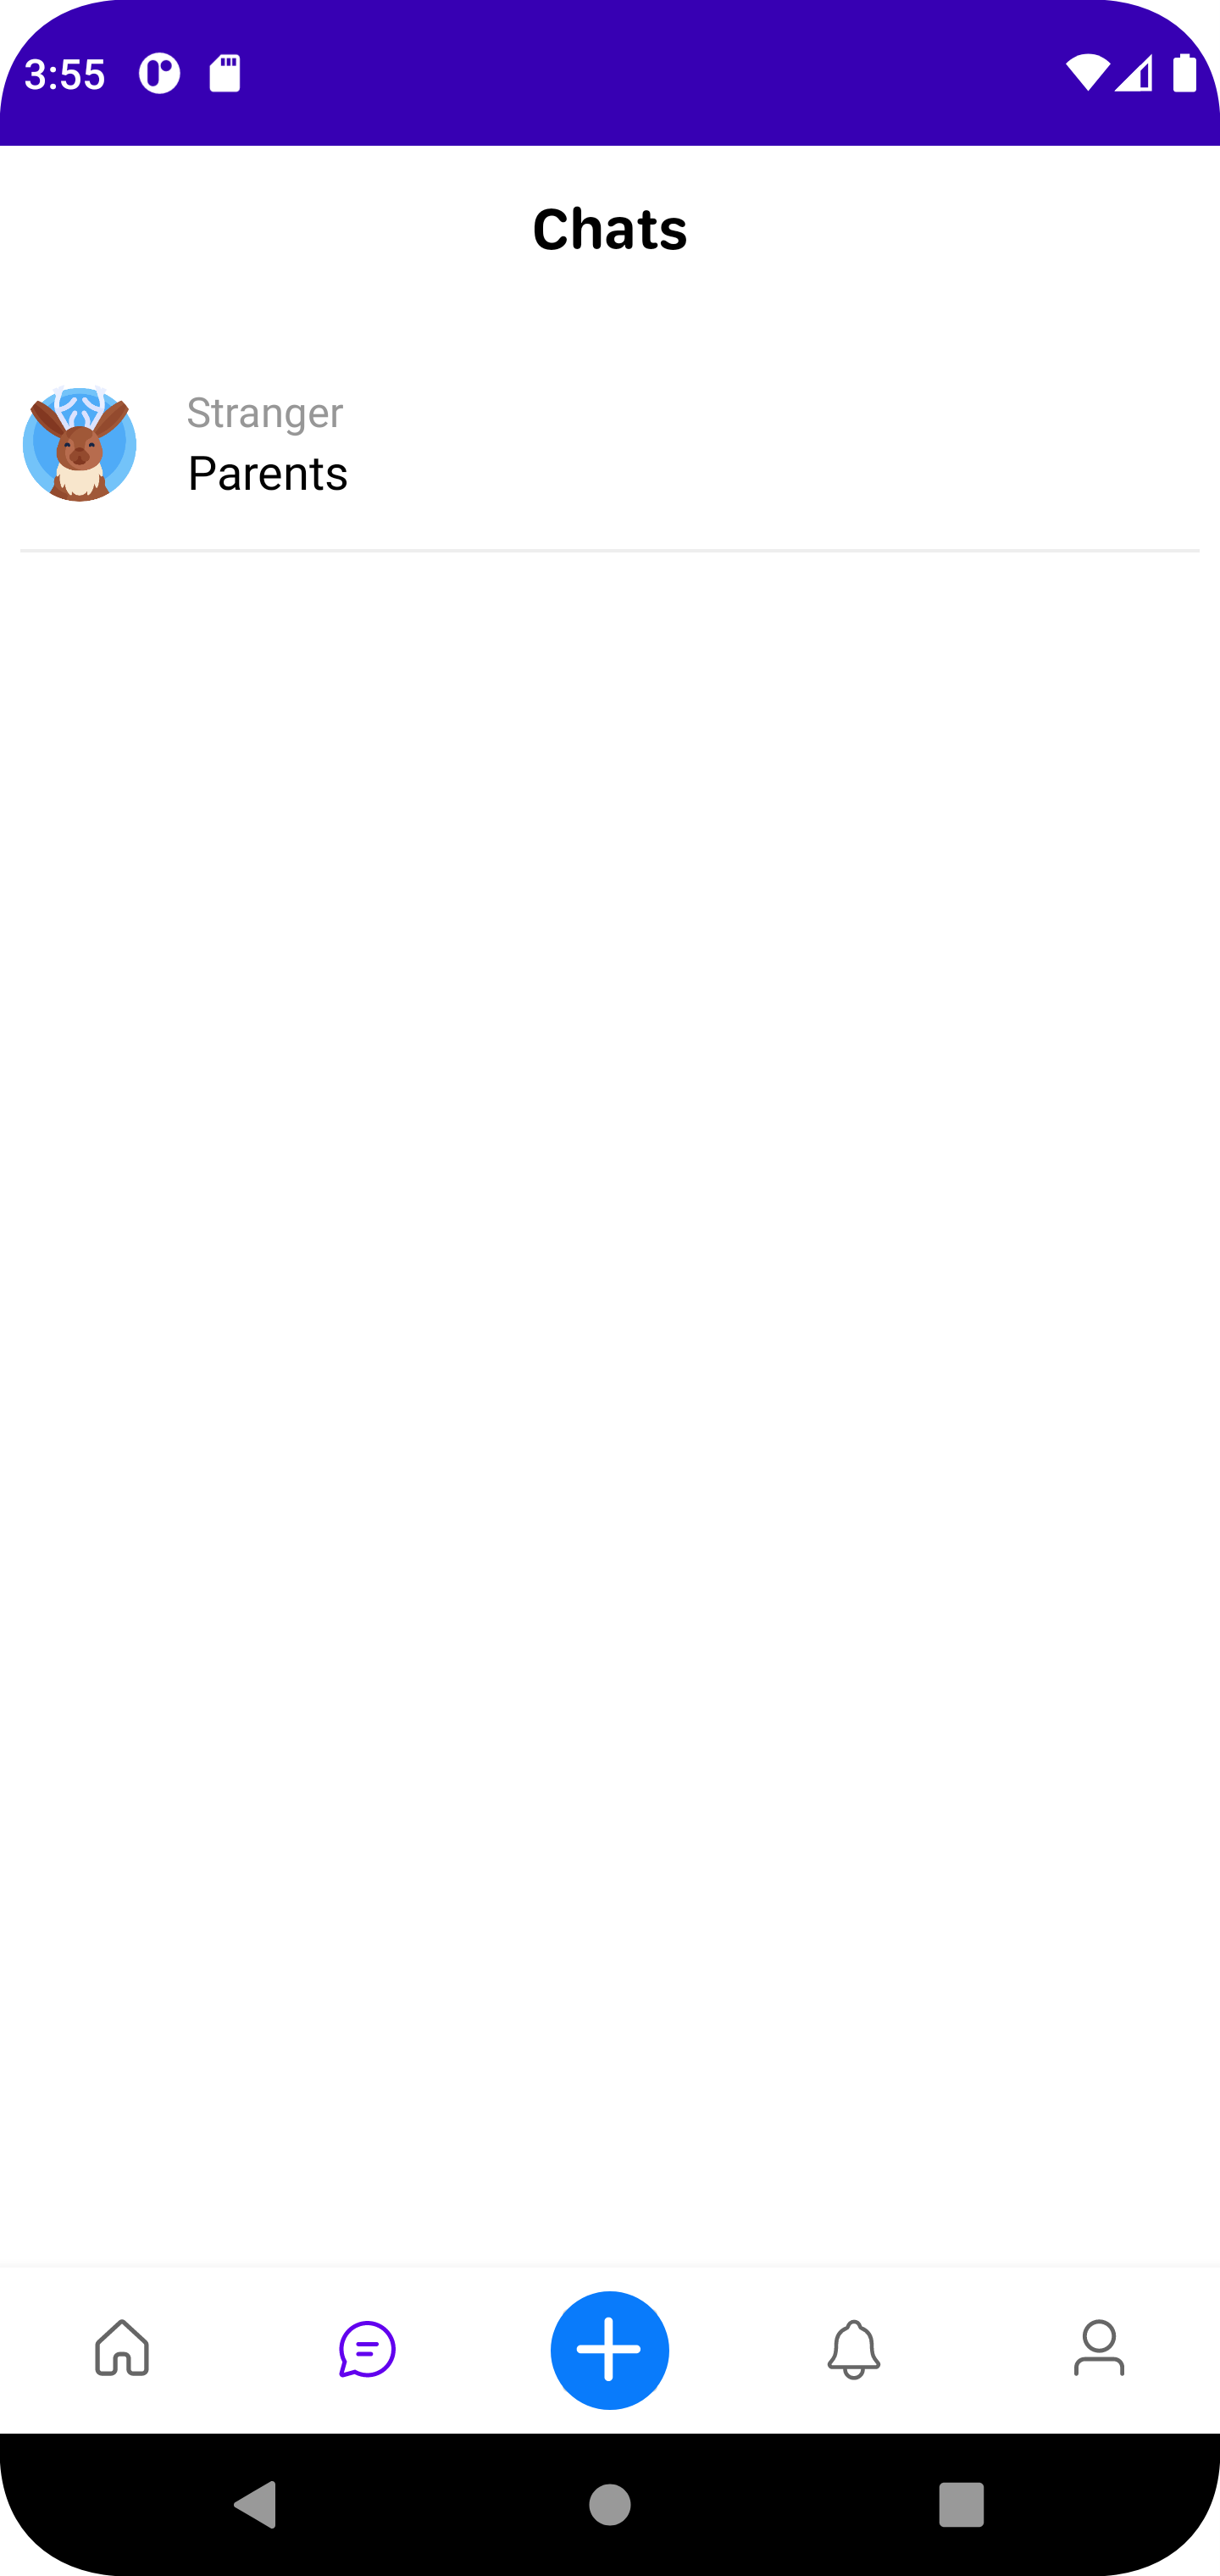
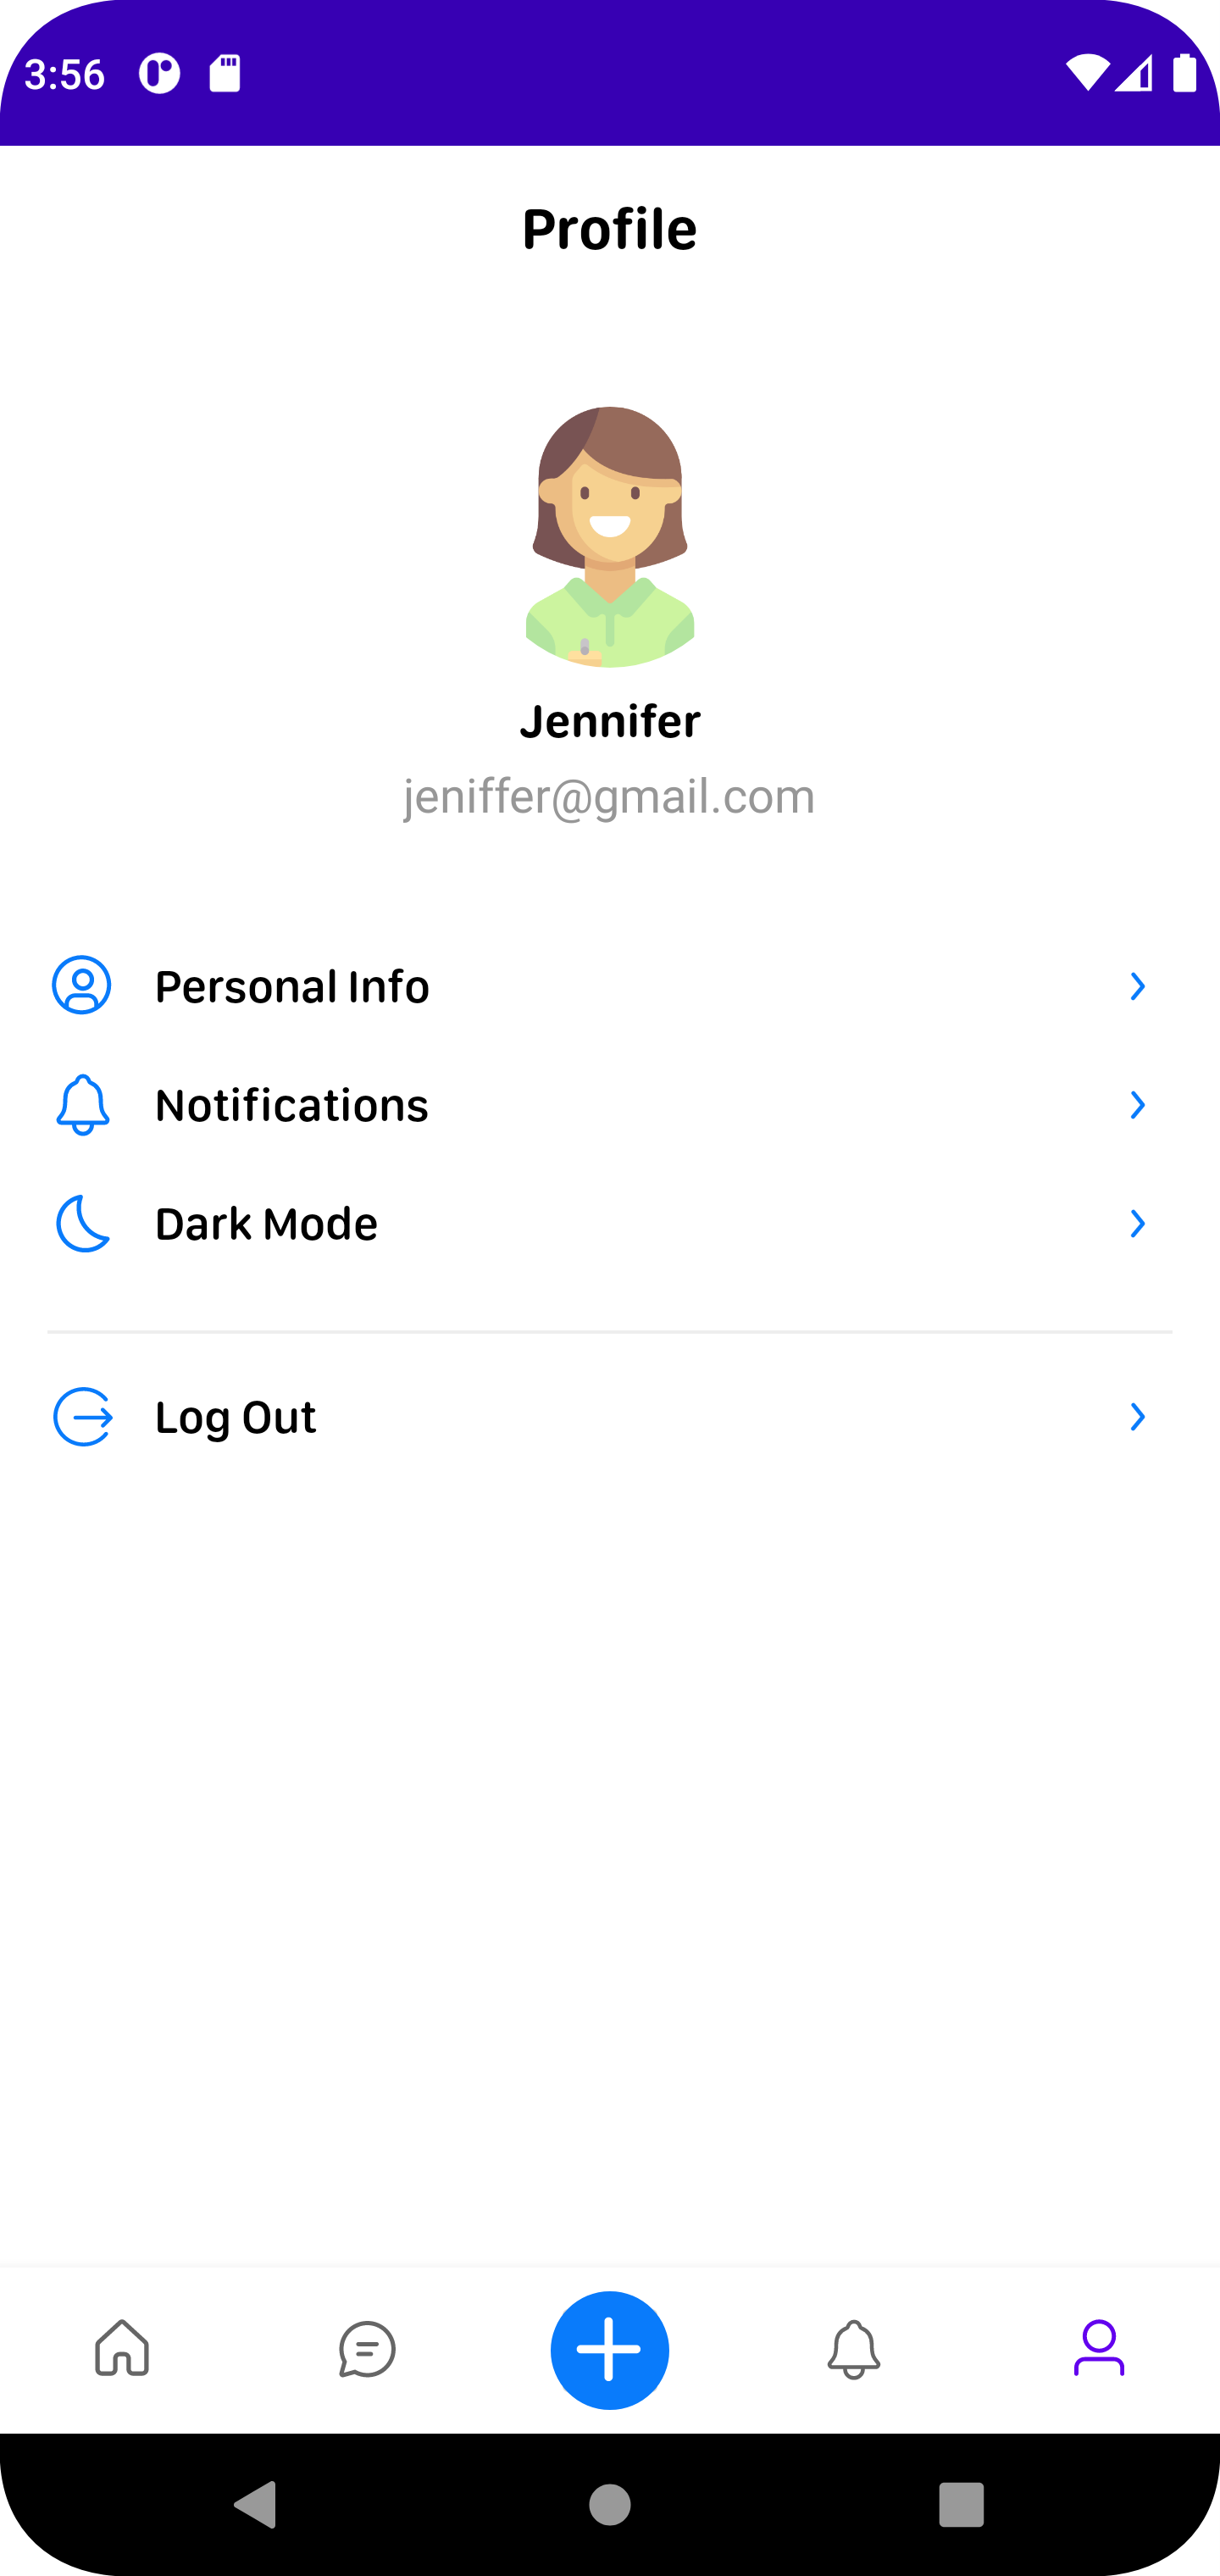
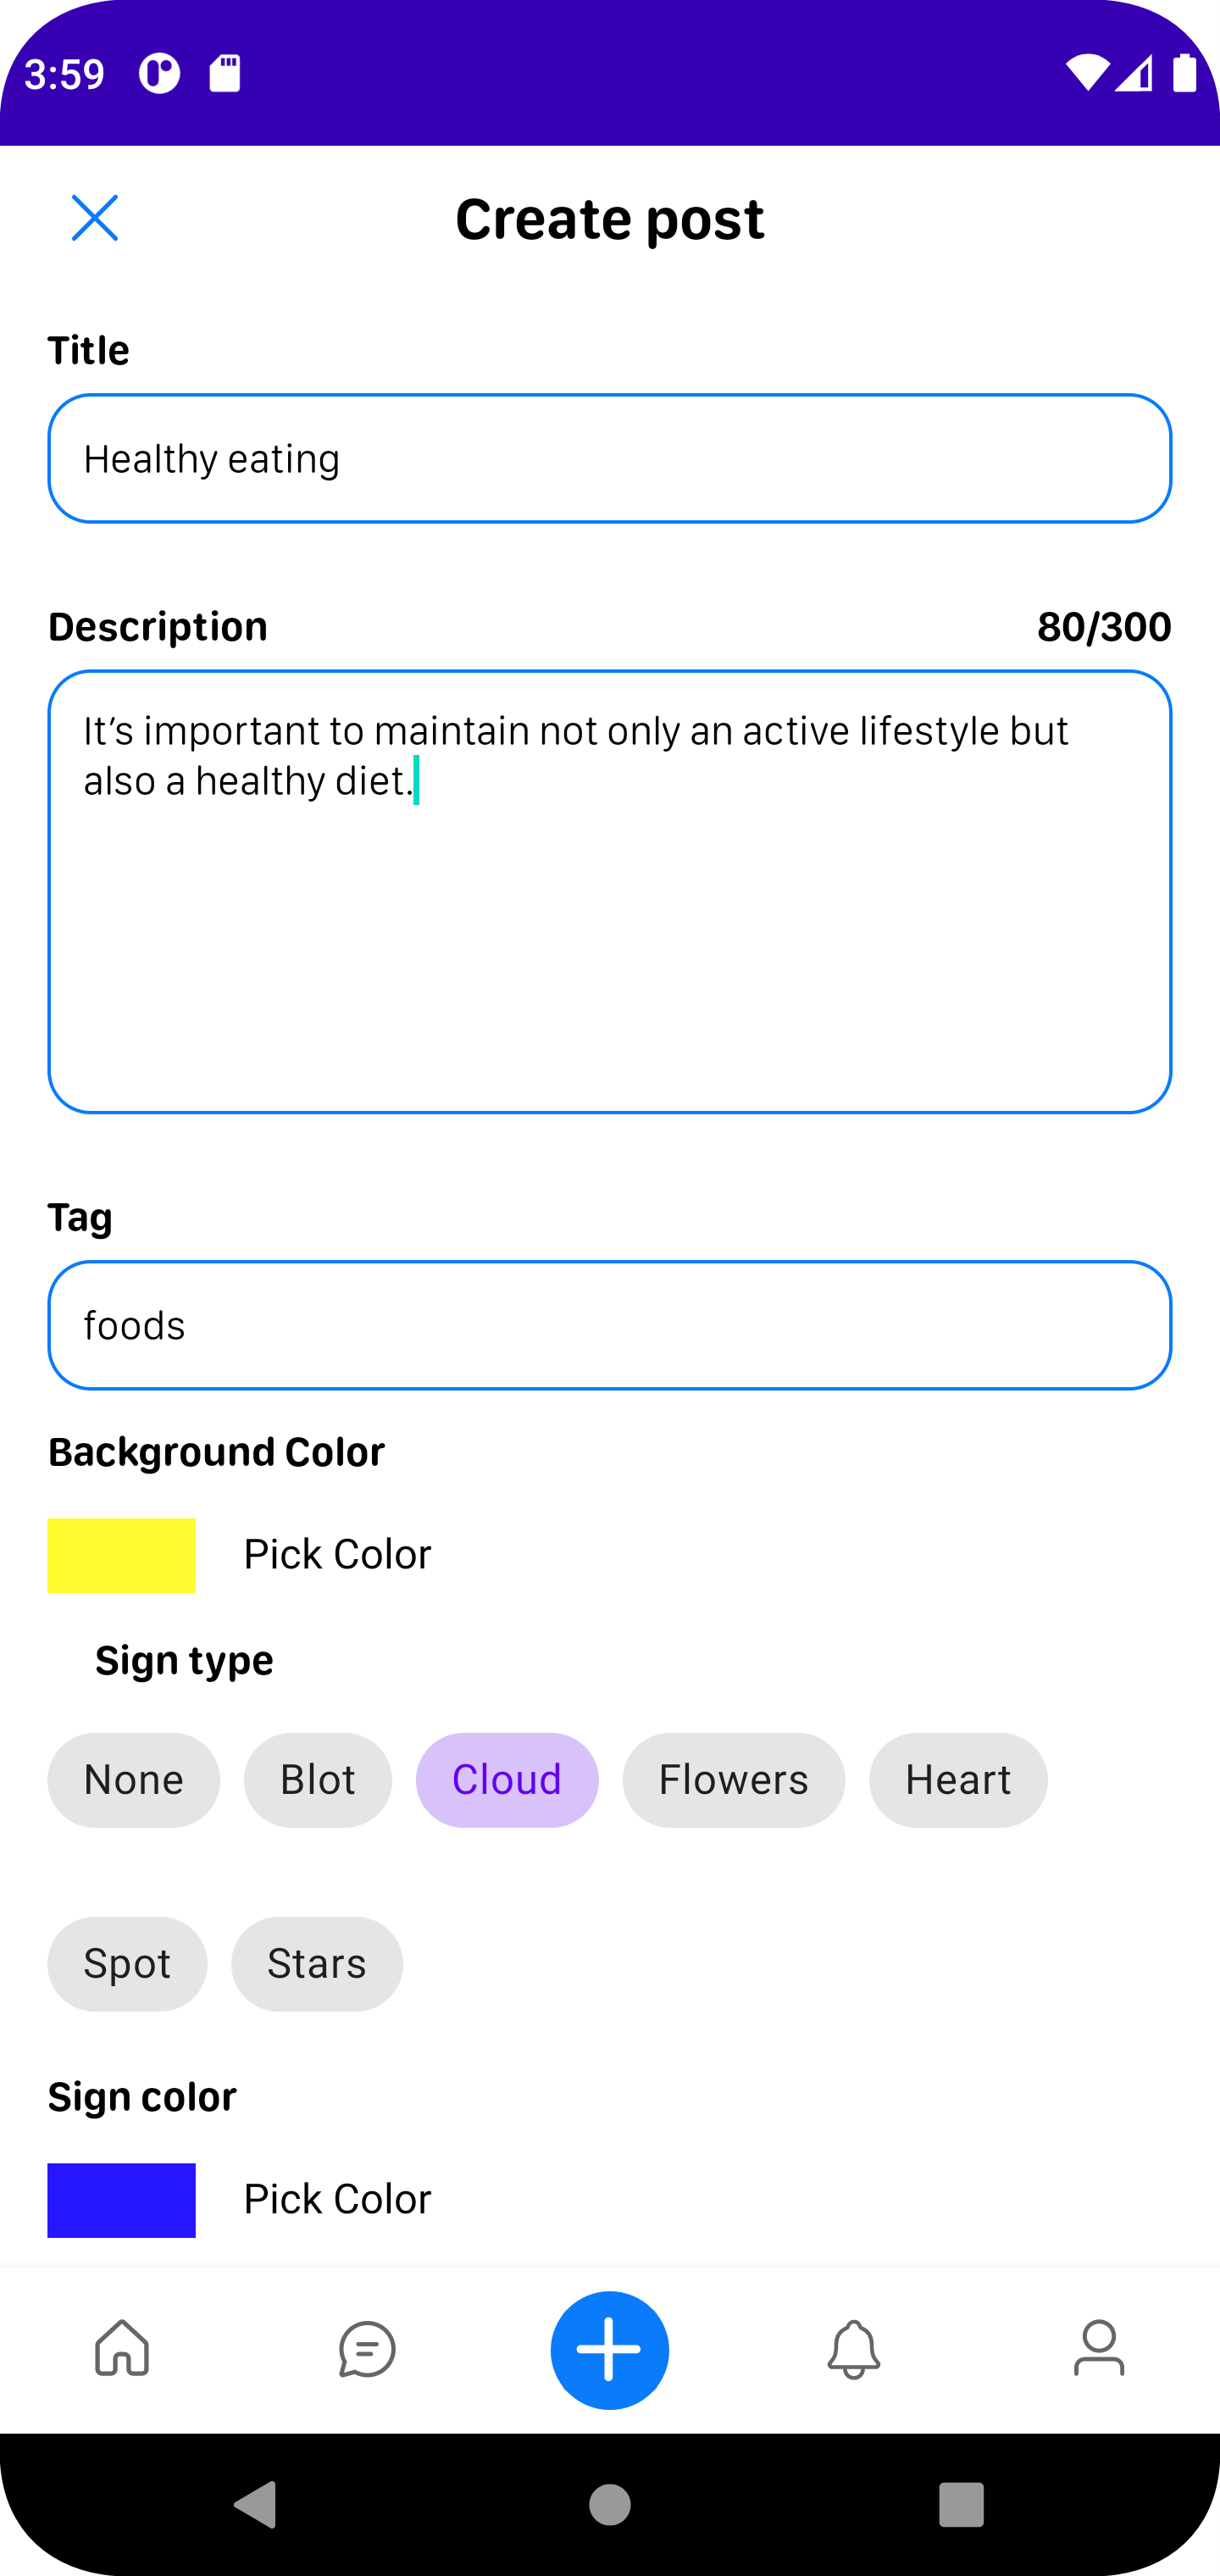
And that’s how we got our Android app done with Ktor! Check out the final result:
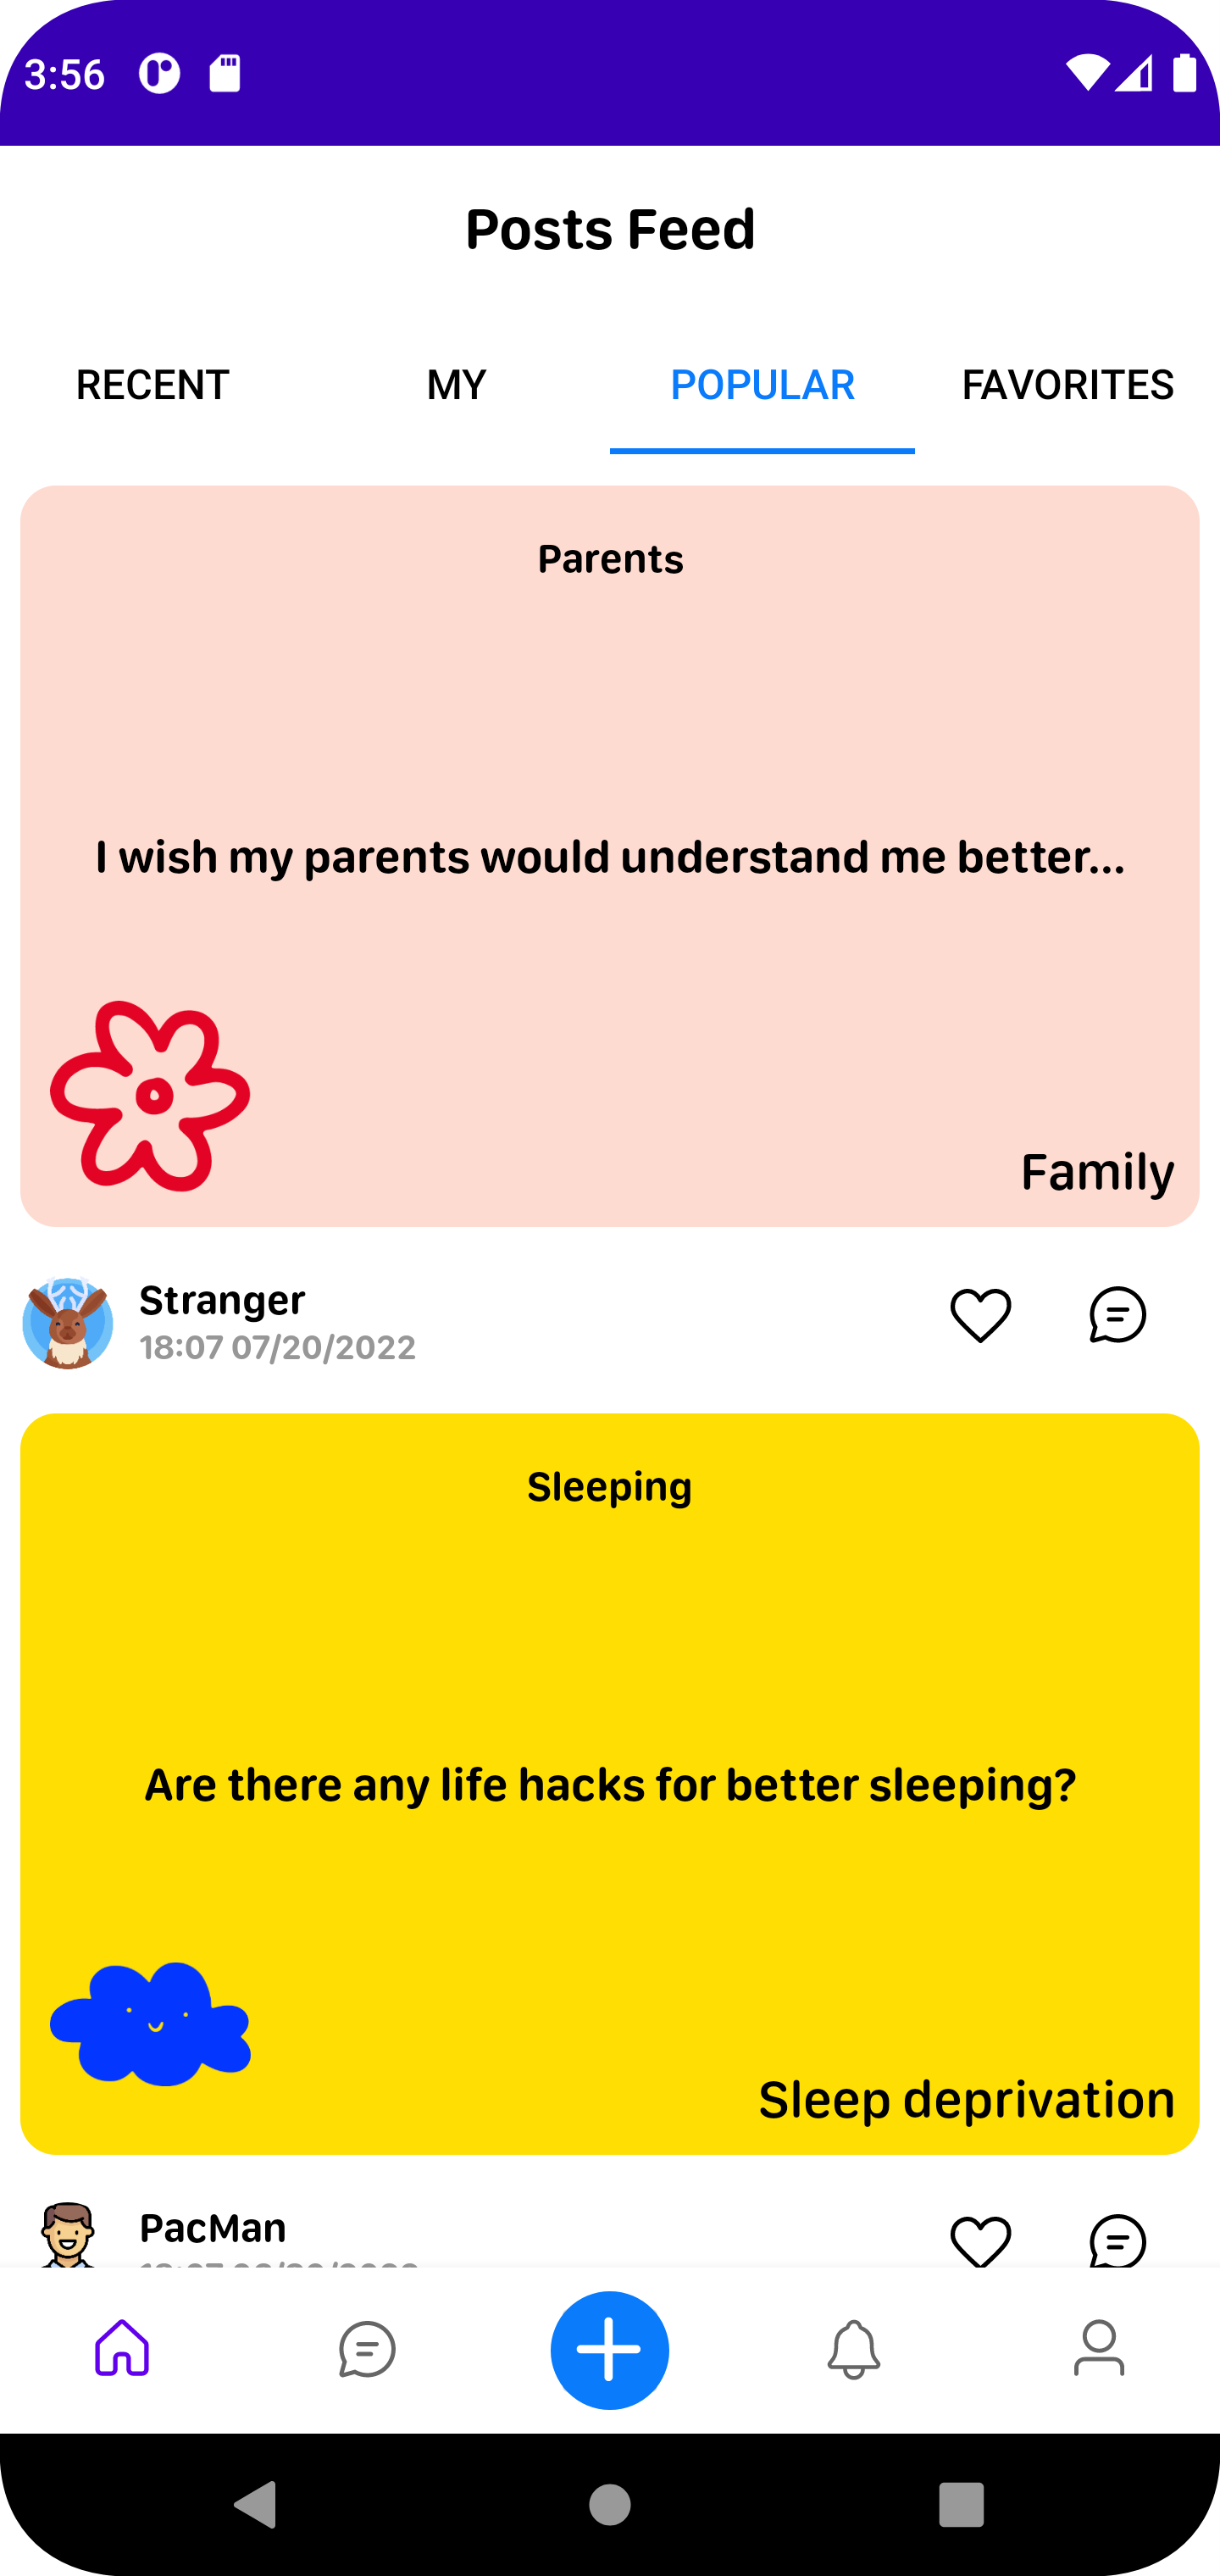

You can view the whole Android project on our Github.
To summarize our experience with Ktor, we managed to create both sides of the application using this framework, which turned out pretty great. Our purpose was to demonstrate the potential of the Ktor Client for both mobile apps and backend applications from A to Z. As you can see, this framework is more than capable of building a full-fledged, perfectly working backend for any Android, iOS, or Web app.
For our Android project, we chose the multiplatform development tools for the network requests, using the Ktor Client and JSON objects’ serialization that pass the requests via kotlinx.serialization as well as a framework for working with the dependency injection Koin.
To realize the other architecture levels, we can use multiplatform development libraries, such as a library for working with the date/time for backend and Android projects (and iOS, if needed). We believe this is a powerful instrument that can simplify the development process and let the developer make fewer mistakes.
This repository describes many useful libraries, so you can try out the potential of multiplatform development with Kotlin for yourself.
Of course, our choices don’t come down to the tech aspect only. We made a community mental health application for a reason. We want to remind people to take care of their mental health as much as physical. Often enough, we work out regularly and pay close attention to our diet while at the same time get stressed and overall ignore our emotions. That’s why we create solutions focused on psychological wellbeing too.
We built the WellBe application with the community aspect of mental health in mind. Sometimes, the support of like-minded people or good advice is one piece of the puzzle that is missing. That’s exactly why some of us need to find this kind of community online.