Wondering how to build an AI selfie generator app? Today we will consider several approaches to creating avatars, changing the background, as well as depth image processing to obtain a more detailed output. It is also worth noting that we will use both ready-made solutions, namely the Stability AI SDK (a paid solution), and direct interaction with predefined models (a free solution).
What is an AI Image Generator?
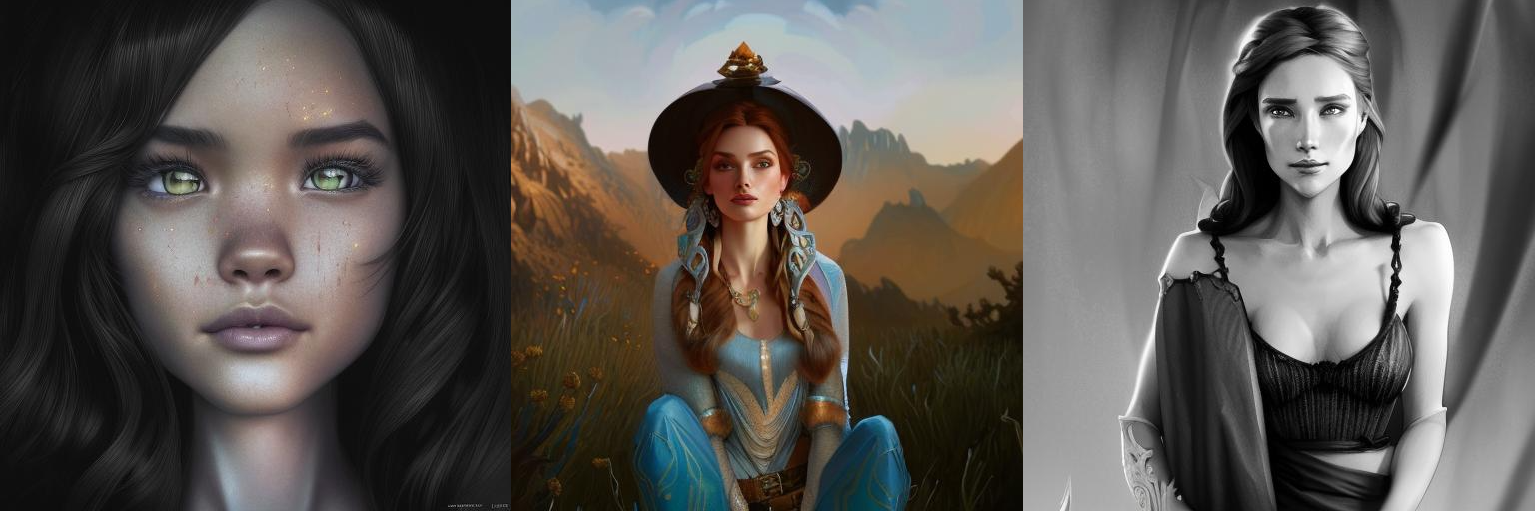
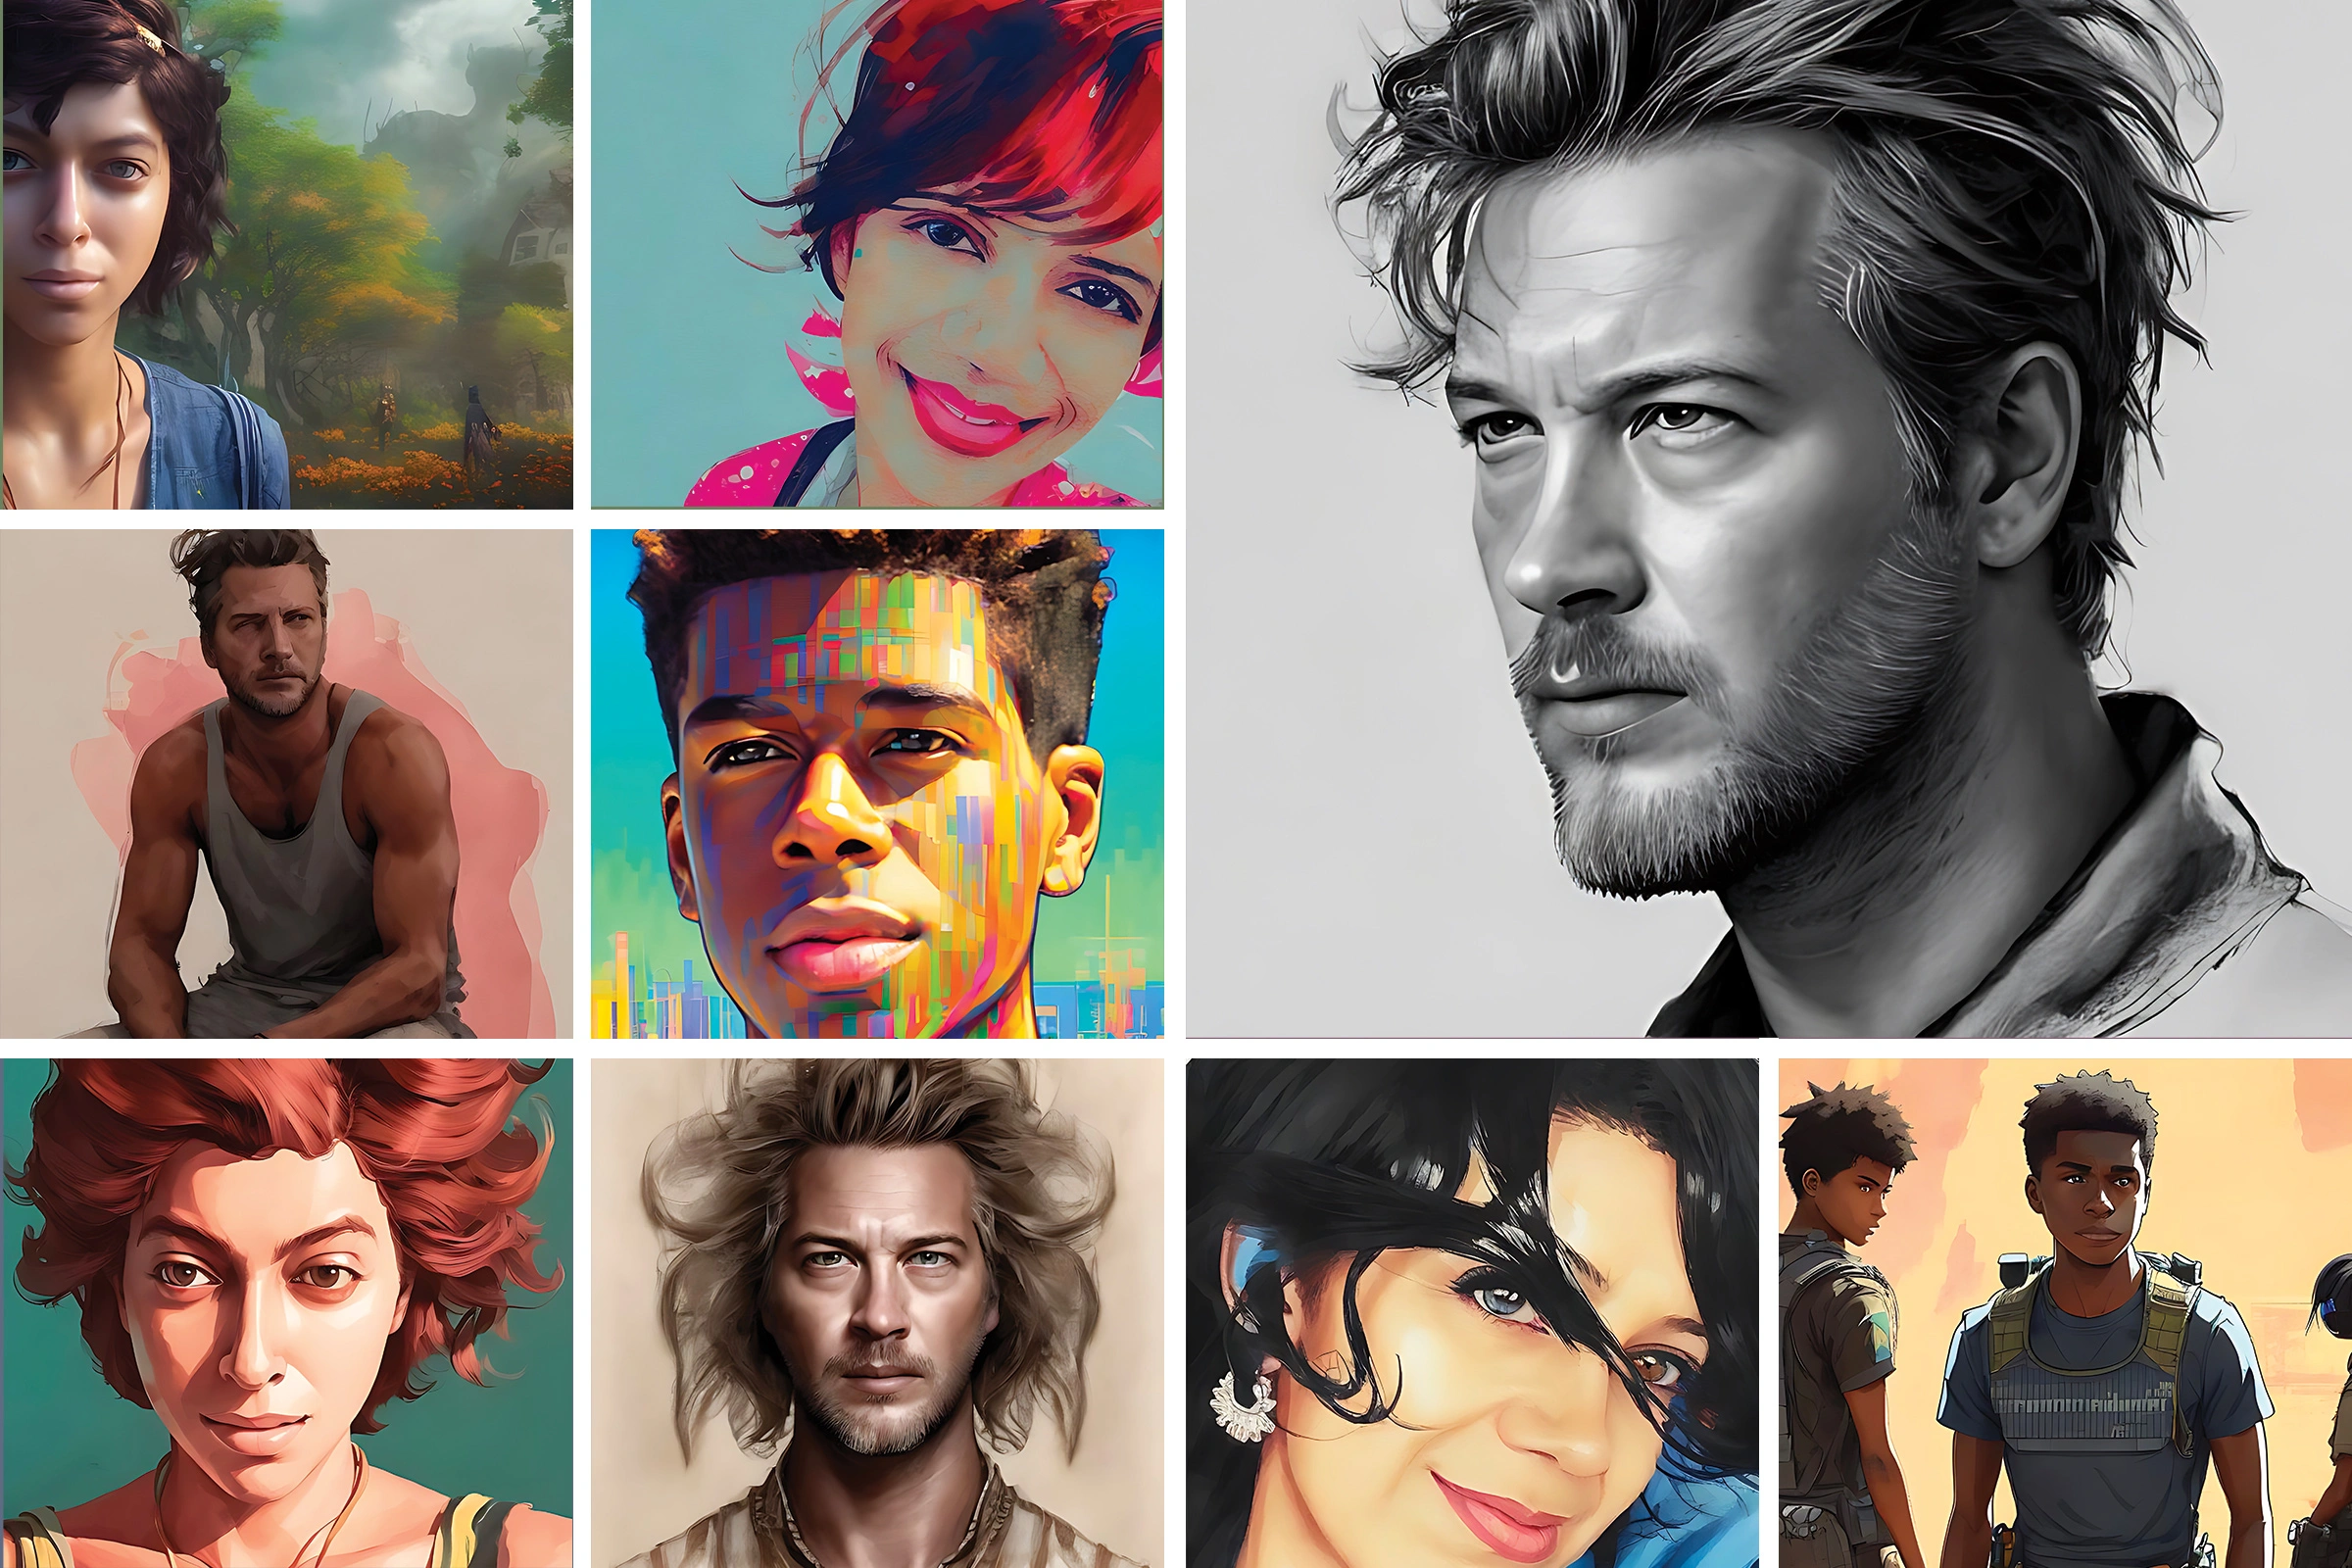
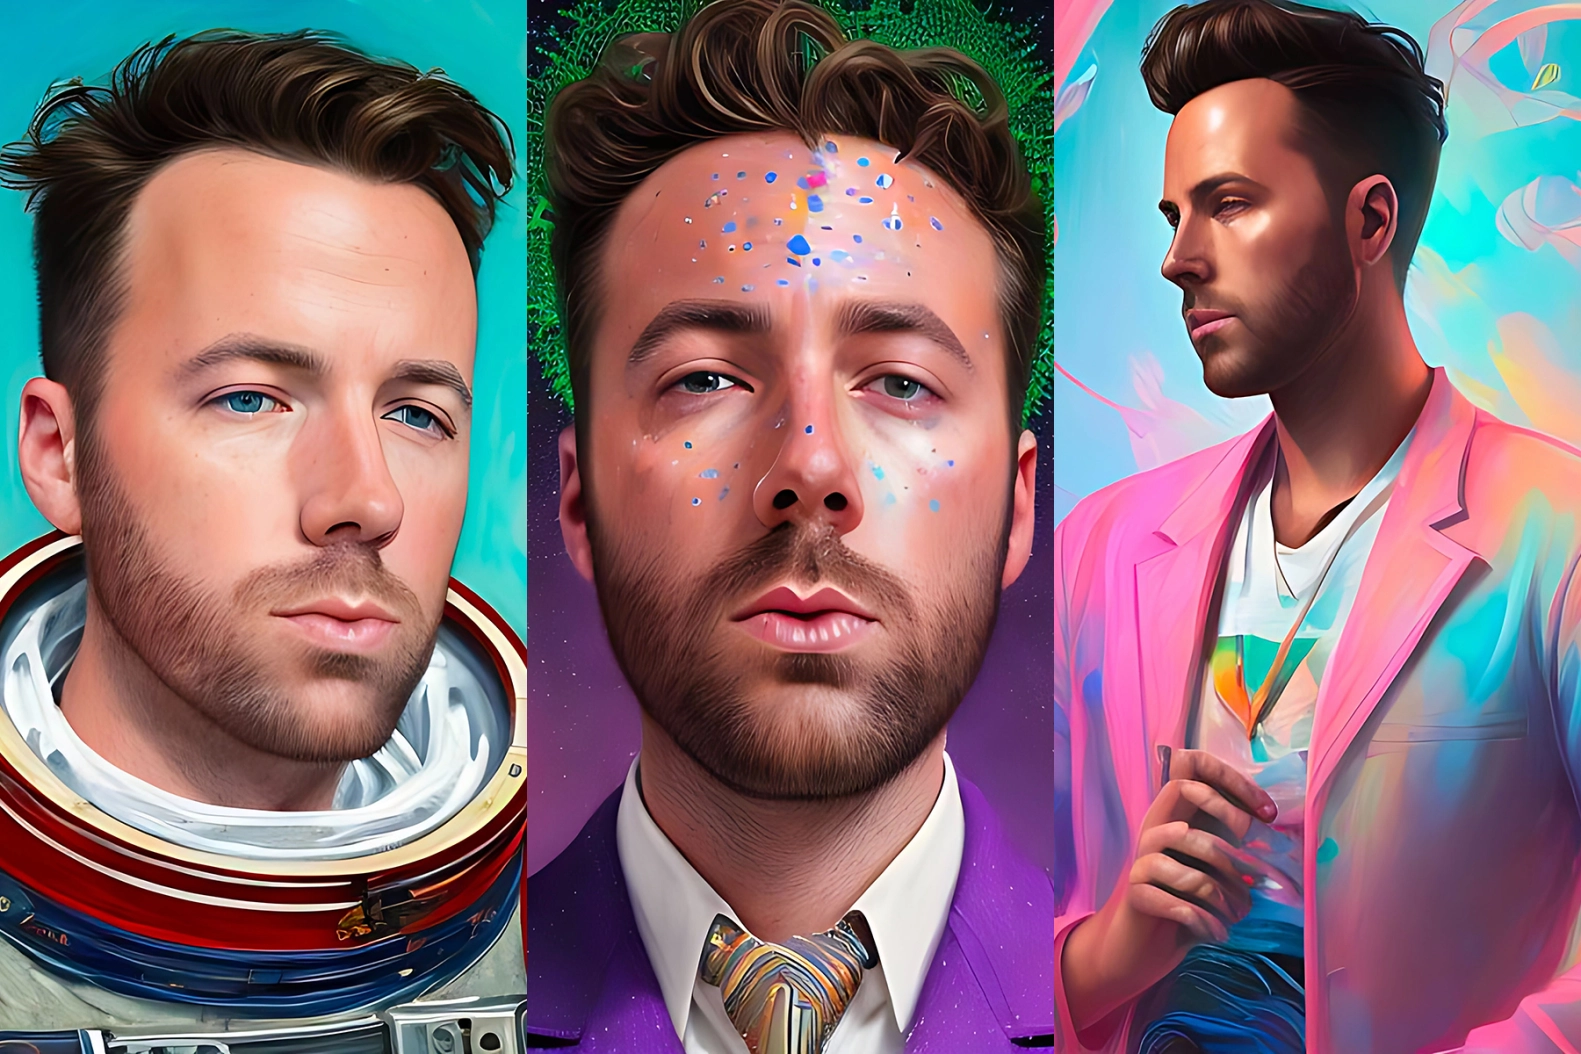
Magic avatar image generators are a new AI-based technology that transforms pictures into artwork according to user requests. Basically, a user uploads a photo, usually a portrait, and chooses a character or setting to modify the picture. For example, you can upload your selfie and ask the magic avatar tool to turn you into a Marvel character. You might know Lensa photo editor — the most popular AI magic avatar tool now. This app uses the Stable Diffusion model just like we are about to. Let’s now take a closer look at how to make an AI image generator app.
How does an AI Image Generator App Work?
The core of building a custom AI face generator app is a trained model. Models are basically algorithms that have been trained on data sets to perform certain actions, for example, generate images based on prompts. We will be working with diffusion models. They can generate a basically endless amount of new images based on the prompts. Diffusion models are a generative type of model meaning that they generate new data based on the training data. What makes diffusion models special is that they destroy the training data by adding noise and then reverse this process to recover the data. Simply put, diffusion models create new images by adding and removing the noise to the training data so that they can generate new pictures trying to recreate the original. Diffusion models can also generate images from text alone by conditioning the image generation process.
Must-Have Features for AI Selfie Generator App
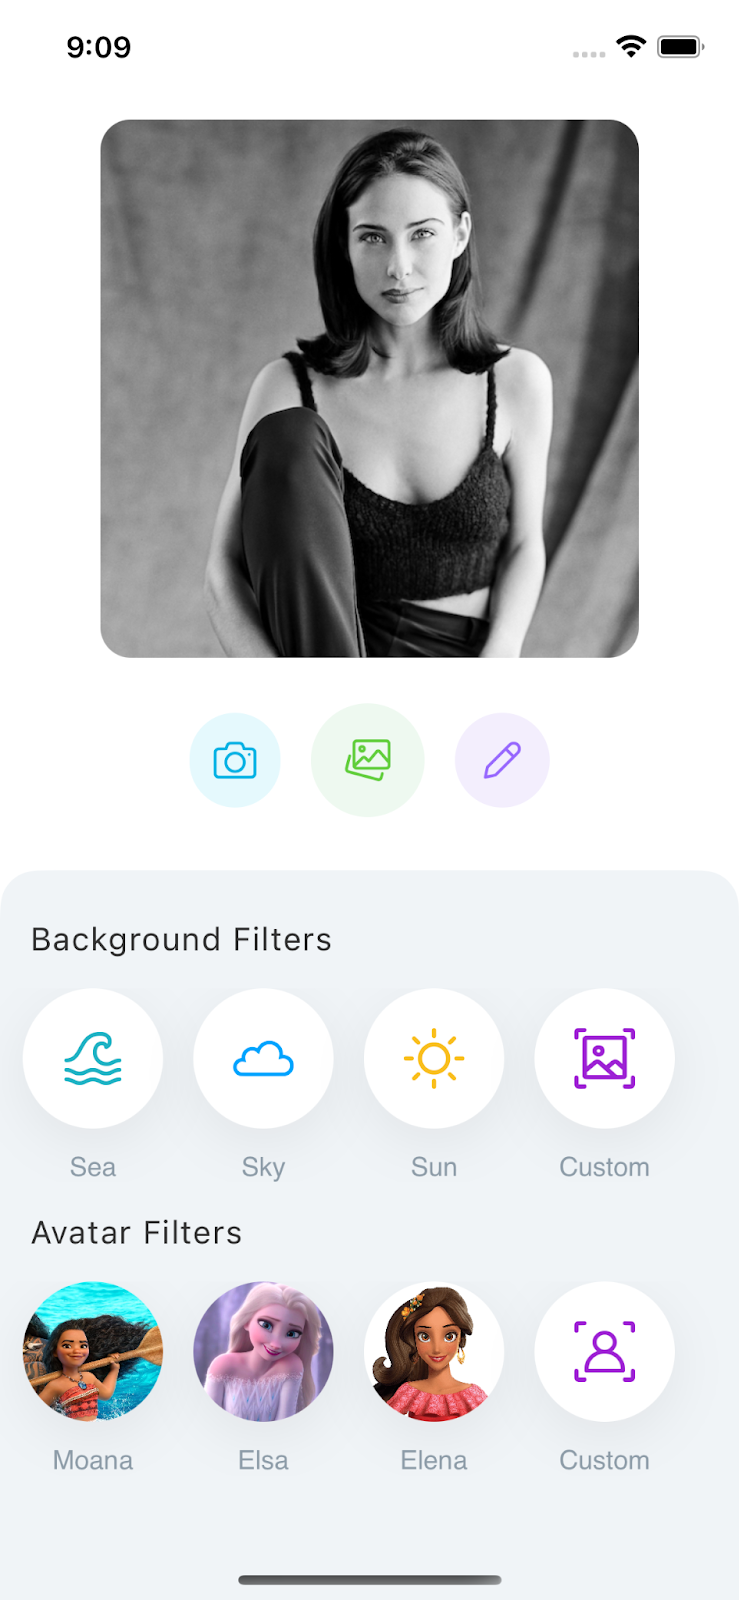
The must-have feature set for a magic avatar app is pretty simple as it revolves around one purpose: transforming a user's photo into artwork. As a result, any AI avatar mobile app should have the following functionality:
- Uploading a photo from the gallery or taking a new photo for image-to-image generation and background change
- A text prompt for text-to-image generation
- A set of background filters with a custom option
- A set of avatar filters (depending on your app's theme) with a custom option
- Saving photos and sharing them on social media
As you see, the list of basic features for a simple magic avatar generator app is rather short. But what does it take to create an AI selfie generator like the Lensa app?
Tech Stack for AI Selfie Generator App Development
When it comes to how to develop an AI image generator app, a tech stack can be divided into two aspects: work with the image-generating server and work with the application itself. We will both interact with the Stable Difusion model directly and through Stability AI SDK. To run the server, we will rely on Python. As for the coding environment, we went with Visual Studio Core.
As for mobile app development, it depends on the type of app you chose. A tech stack for iOS, Android, and cross-platform Flutter apps will differ. We went with SwiftUI to build an iOS app.
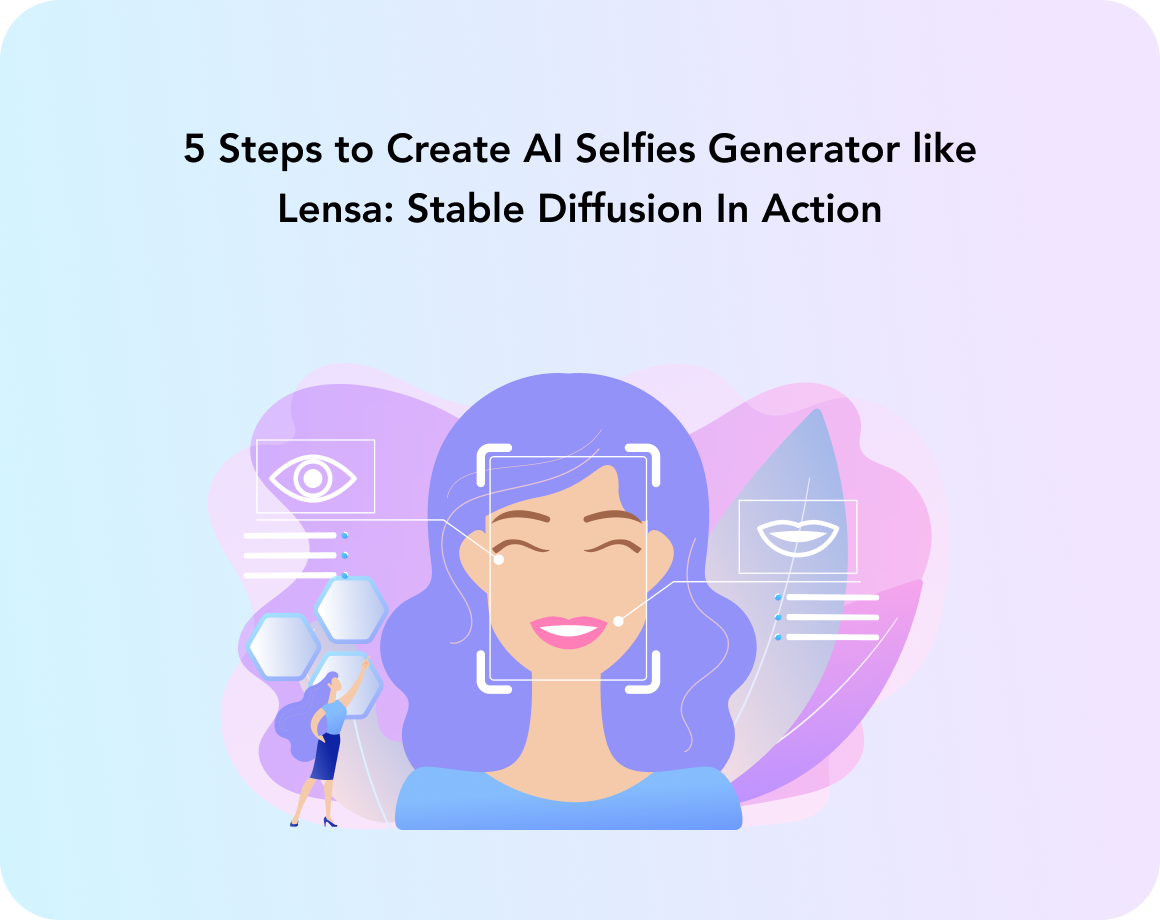
5 Steps to Create AI Selfie Generator like Lensa
Let's now move on to the main topic of this article: how to create an AI art generator app in just 5 steps. If you are looking for something like Lensa AI selfie generator development, it's best to know how it all works from the inside.
Step 1: Models Selection
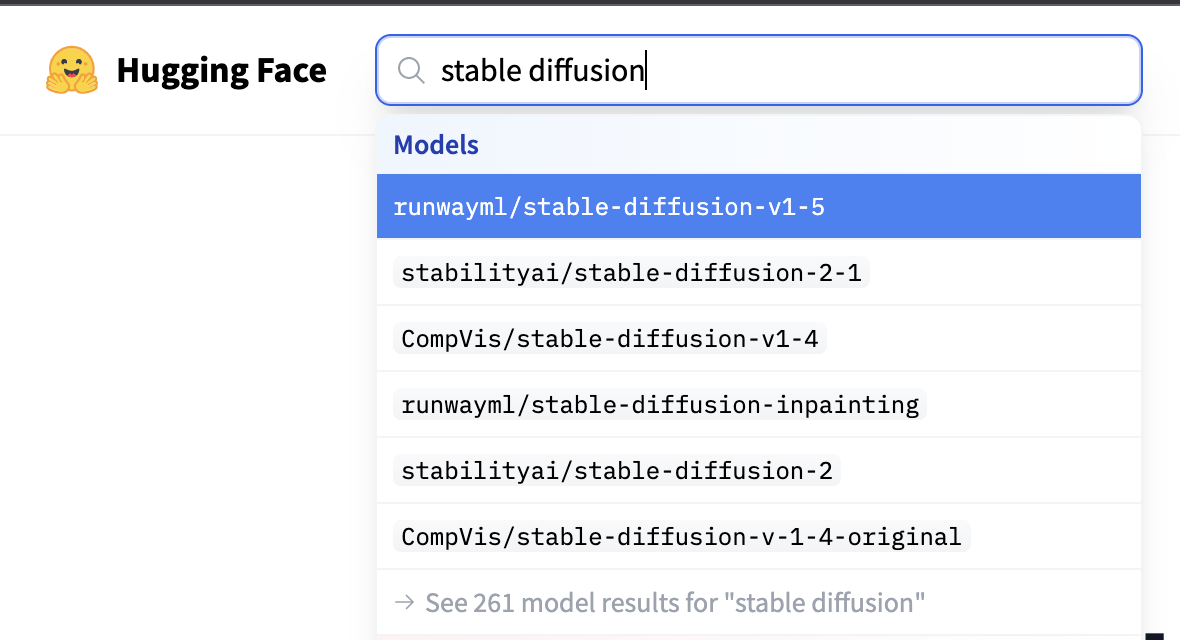
There is a large number of diffusion models, and the output images we will receive depend on the model. To select models, you can use the https://huggingface.co website (see the figure below), and enter Stable Diffusion in the search bar.
Each model has its own identifier, which we will use later on our server. Every model was initialized with the Main weights and tuned by a large number of steps with a specific resolution. We also recommend using large models with steps higher than 400-500k to get the best results.
Step 2: Reviewing Stable Diffusion features
We have a model, so now let’s choose an appropriate image generation mechanism for it. There are the following types:
- Text to Image
- Image to Image
- Depth to Image
Text-to-Image, as you may have guessed, generates a picture from user-specified text. The more details you share on what you want to get at the output, the better the result will be.
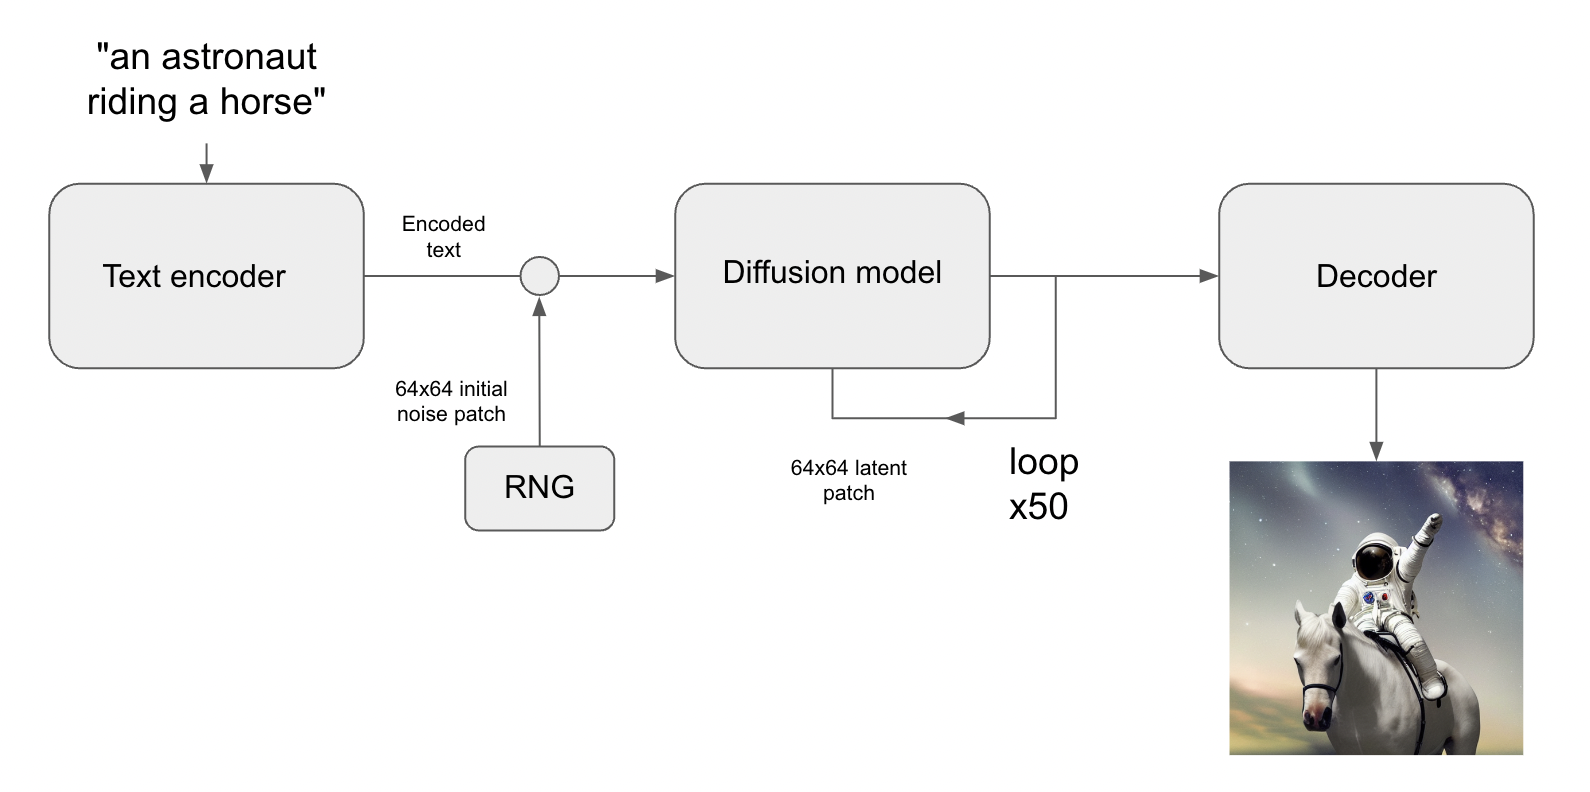
Image-to-Image is a more complicated mechanism because it requires an input image and text. Using this data, the system will try to replace parts of the image using the input prompt. We recommend describing the largest details, this will give a really good result in the future. This is the mechanism we will use in the construction of Magic Avatars.
We will also make the functionality of replacing the background without changing the photo of the person in front. For this, we will need to learn OpenCV so we can understand how to determine the different object types in the image and make appropriate masks for them.
Depth-to-Image is the third feature of Stable Diffusion, an improved version of Image-to-Image that includes additional work with depth information when generating new images.
With Depth-to-Image, you have better control over synthesizing the subject and background separately.
Step 3: Server preparation
To run the server, you need to install Python, pip, and anaconda. Also, we would recommend using Visual Studio Code as the main app for coding.
Firstly, we need to find a model on the Hugging Face website; then, we create a pipe in the api.py file, which we will use for generating avatars.

For better execution speed results we would recommend enabling attention slicing for image_to_image_pipe.
We now need to define the torch device which will be used as a processing unit (CPU, MPS, CUDA). As we have only M1 and Intel Graphics Cards, we choose MPS. CUDA may provide you with better results, but it's only available on Nvidia cards.
This content is only available to subscribers
Subscribe now and have access to all our stories, enjoy exclusive content and stay up to date with constant updates.
Sign up nowAlready have an account? Sign in